
Nature Style Aquascape Step by Step: Amano-Inspired Simplicity
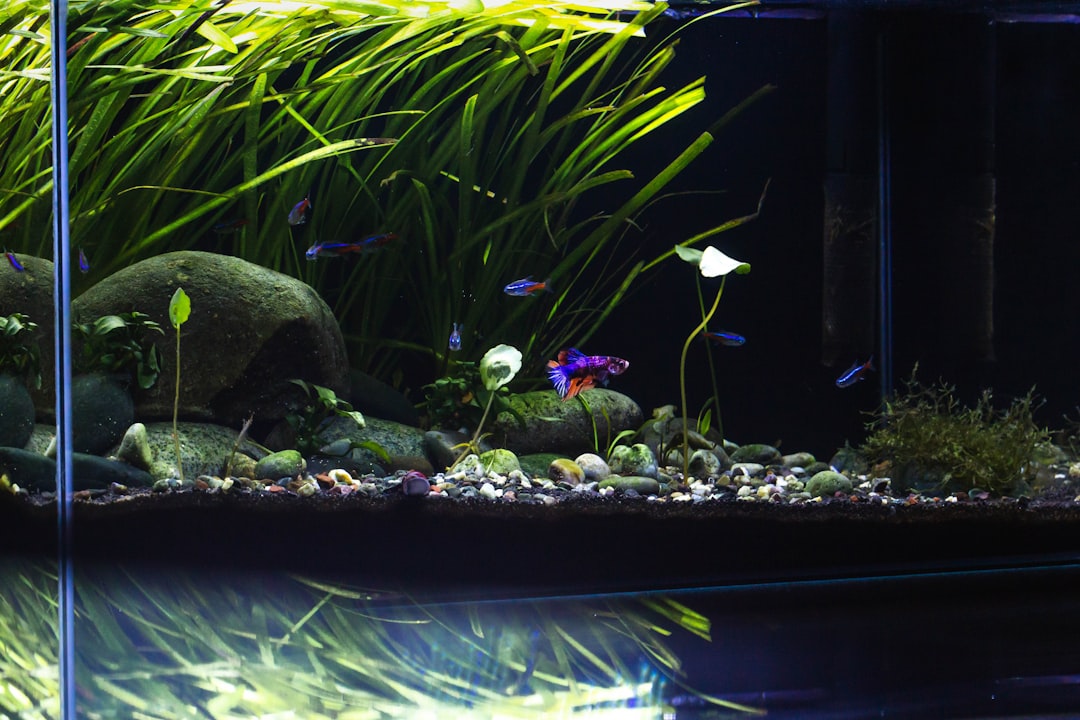
Takashi Amano’s nature style changed aquascaping forever by proving that simplicity, proportion, and restraint could produce underwater landscapes of breathtaking beauty. Building a nature style aquascape step by step is surprisingly accessible even for intermediate hobbyists — the philosophy centres on mimicking natural scenery rather than accumulating rare plants. This guide from Gensou Aquascaping Singapore at 5 Everton Park, shaped by over 20 years of creating Amano-inspired layouts, walks you through each stage from empty tank to finished scape.
Principles Behind the Style
Nature aquascaping draws on Japanese gardening aesthetics — asymmetry, negative space, and the rule of thirds. A single focal point, whether a piece of driftwood or a stone arrangement, anchors the layout. Plants frame and soften the hardscape rather than competing with it. The goal is an impression of a natural scene — a riverbank, a forest floor, a mountain slope — compressed into a glass rectangle.
Restraint is the hardest skill. Resist the urge to fill every corner. Empty foreground sand and open swimming spaces are as important as planted zones.
Step 1: Choose Your Inspiration
Study photographs of natural landscapes — forest streams, mossy hillsides, rocky shorelines. Pick one scene that resonates and use it as your template. Sketch a rough layout on paper, marking where the highest point sits (ideally at the left or right third, not the centre) and where the eye should travel. Even a two-minute sketch prevents costly rearrangements once the tank is filled.
Step 2: Substrate and Foundation
Pour aqua soil (ADA Amazonia, Tropica Soil, or a comparable brand) to a depth of 3–4 cm at the front, building to 8–10 cm at the rear. This slope creates depth perception — a fundamental trick in nature aquascaping. Use lava rock chunks or substrate support plates beneath the high points to prevent soil from flattening over time during water changes.
A cosmetic sand foreground, separated from the soil by thin stone barriers, adds a riverbed or pathway element. Bright sand against dark soil amplifies the sense of perspective.
Step 3: Hardscape Placement
Position your main stone or driftwood first — this is your focal piece. Subordinate pieces should support the main element, not compete with it. Odd numbers (three stones, five branches) feel more natural than even groupings. Bury the base of stones 1–2 cm into the substrate so they appear rooted rather than placed.
Step back frequently. View the hardscape from your usual sitting position, not from directly above. Photograph it and review on your phone screen — the flattened perspective reveals imbalances your eyes miss in three dimensions.
Step 4: Planting Strategy
Divide the tank into three zones. Background stems like Rotala rotundifolia or Ludwigia repens create height and colour. Midground species — Cryptocoryne varieties, Staurogyne repens, or small Anubias — fill around the base of hardscape. Foreground carpeting plants like Micranthemum ‘Monte Carlo’ or Eleocharis acicularis (dwarf hairgrass) complete the scene.
Plant densely from day one. Sparse initial planting invites algae to colonise empty substrate. Use quality planting tweezers to set each stem precisely. Moss — java moss or Taxiphyllum ‘Flame’ — tied to driftwood adds an aged, established feel almost immediately.
Step 5: Filling and Initial Care
Fill the tank slowly using a colander or plate placed on the substrate to avoid disturbing your layout. Run the filter, heater (if needed — Singapore’s ambient temperatures often suffice), and lighting on a reduced 5–6 hour photoperiod for the first two weeks. Dose liquid carbon daily and a comprehensive fertiliser from week two onwards.
Perform 50 % water changes every other day during the first fortnight to manage the ammonia leach from new aqua soil. This cycling period is critical — skipping it risks an algae explosion that can set the scape back weeks.
Step 6: Trimming and Maturation
Stem plants need their first trim at roughly week three to four, once they reach the surface. Cut them to half height and replant the tops for density. Carpeting plants spread laterally on their own but benefit from occasional mowing to encourage compact growth. A nature aquascape looks its best around the three to four month mark, once plants have filled in and moss has attached firmly to hardscape.
Patience is non-negotiable. Rushing the process — adding fish too early, cranking up the light, over-fertilising — leads to setbacks that take longer to fix than waiting did.
Bringing It All Together
A completed nature style aquascape should feel inevitable — as though the stones always sat that way and the plants chose to grow there. That effortless quality comes from careful planning, disciplined plant selection, and the confidence to leave space empty. Follow these steps, trust the process, and the result will be a living landscape worthy of the tradition Amano pioneered.
Related Reading
- Jungle Style Aquascape Guide: Wild, Dense and Low Maintenance
- Aquascaping With Sand and Rocks Only: No Aqua Soil Needed
- Dragon Stone Aquascaping Guide: Texture, Placement and Layouts
- How to Attach Plants to Driftwood and Rock: Glue, Thread and Mesh
- Famous Aquascapers and Their Styles: Inspiration From the Masters
emilynakatani
Still Have Questions About Your Tank?
Drop by Gensou Aquascaping — most walk-in questions get answered in under 10 minutes by someone who has set up hundreds of tanks.
5 Everton Park #01-34B, Singapore 080005 · Open daily 11am – 8pm


