
Best Aquarium Canopies and Hoods: Bought and DIY Options
A canopy or hood finishes an aquarium the way a frame finishes a painting — it conceals equipment, controls light spill, and gives the setup a polished look. This best aquarium canopy hood guide from Gensou Aquascaping at 5 Everton Park, Singapore covers both ready-made and DIY options, helping you choose the right approach for your tank size, budget, and skill level. Over 20 years of hands-on builds inform every recommendation here.
Canopy vs Hood: What Is the Difference?
A hood is a flat or slightly raised cover that sits directly on the tank rim, usually incorporating a built-in light strip. Hoods are common on starter kits and serve a functional purpose — reducing evaporation, preventing fish jumps, and housing basic lighting. They work, but they look generic.
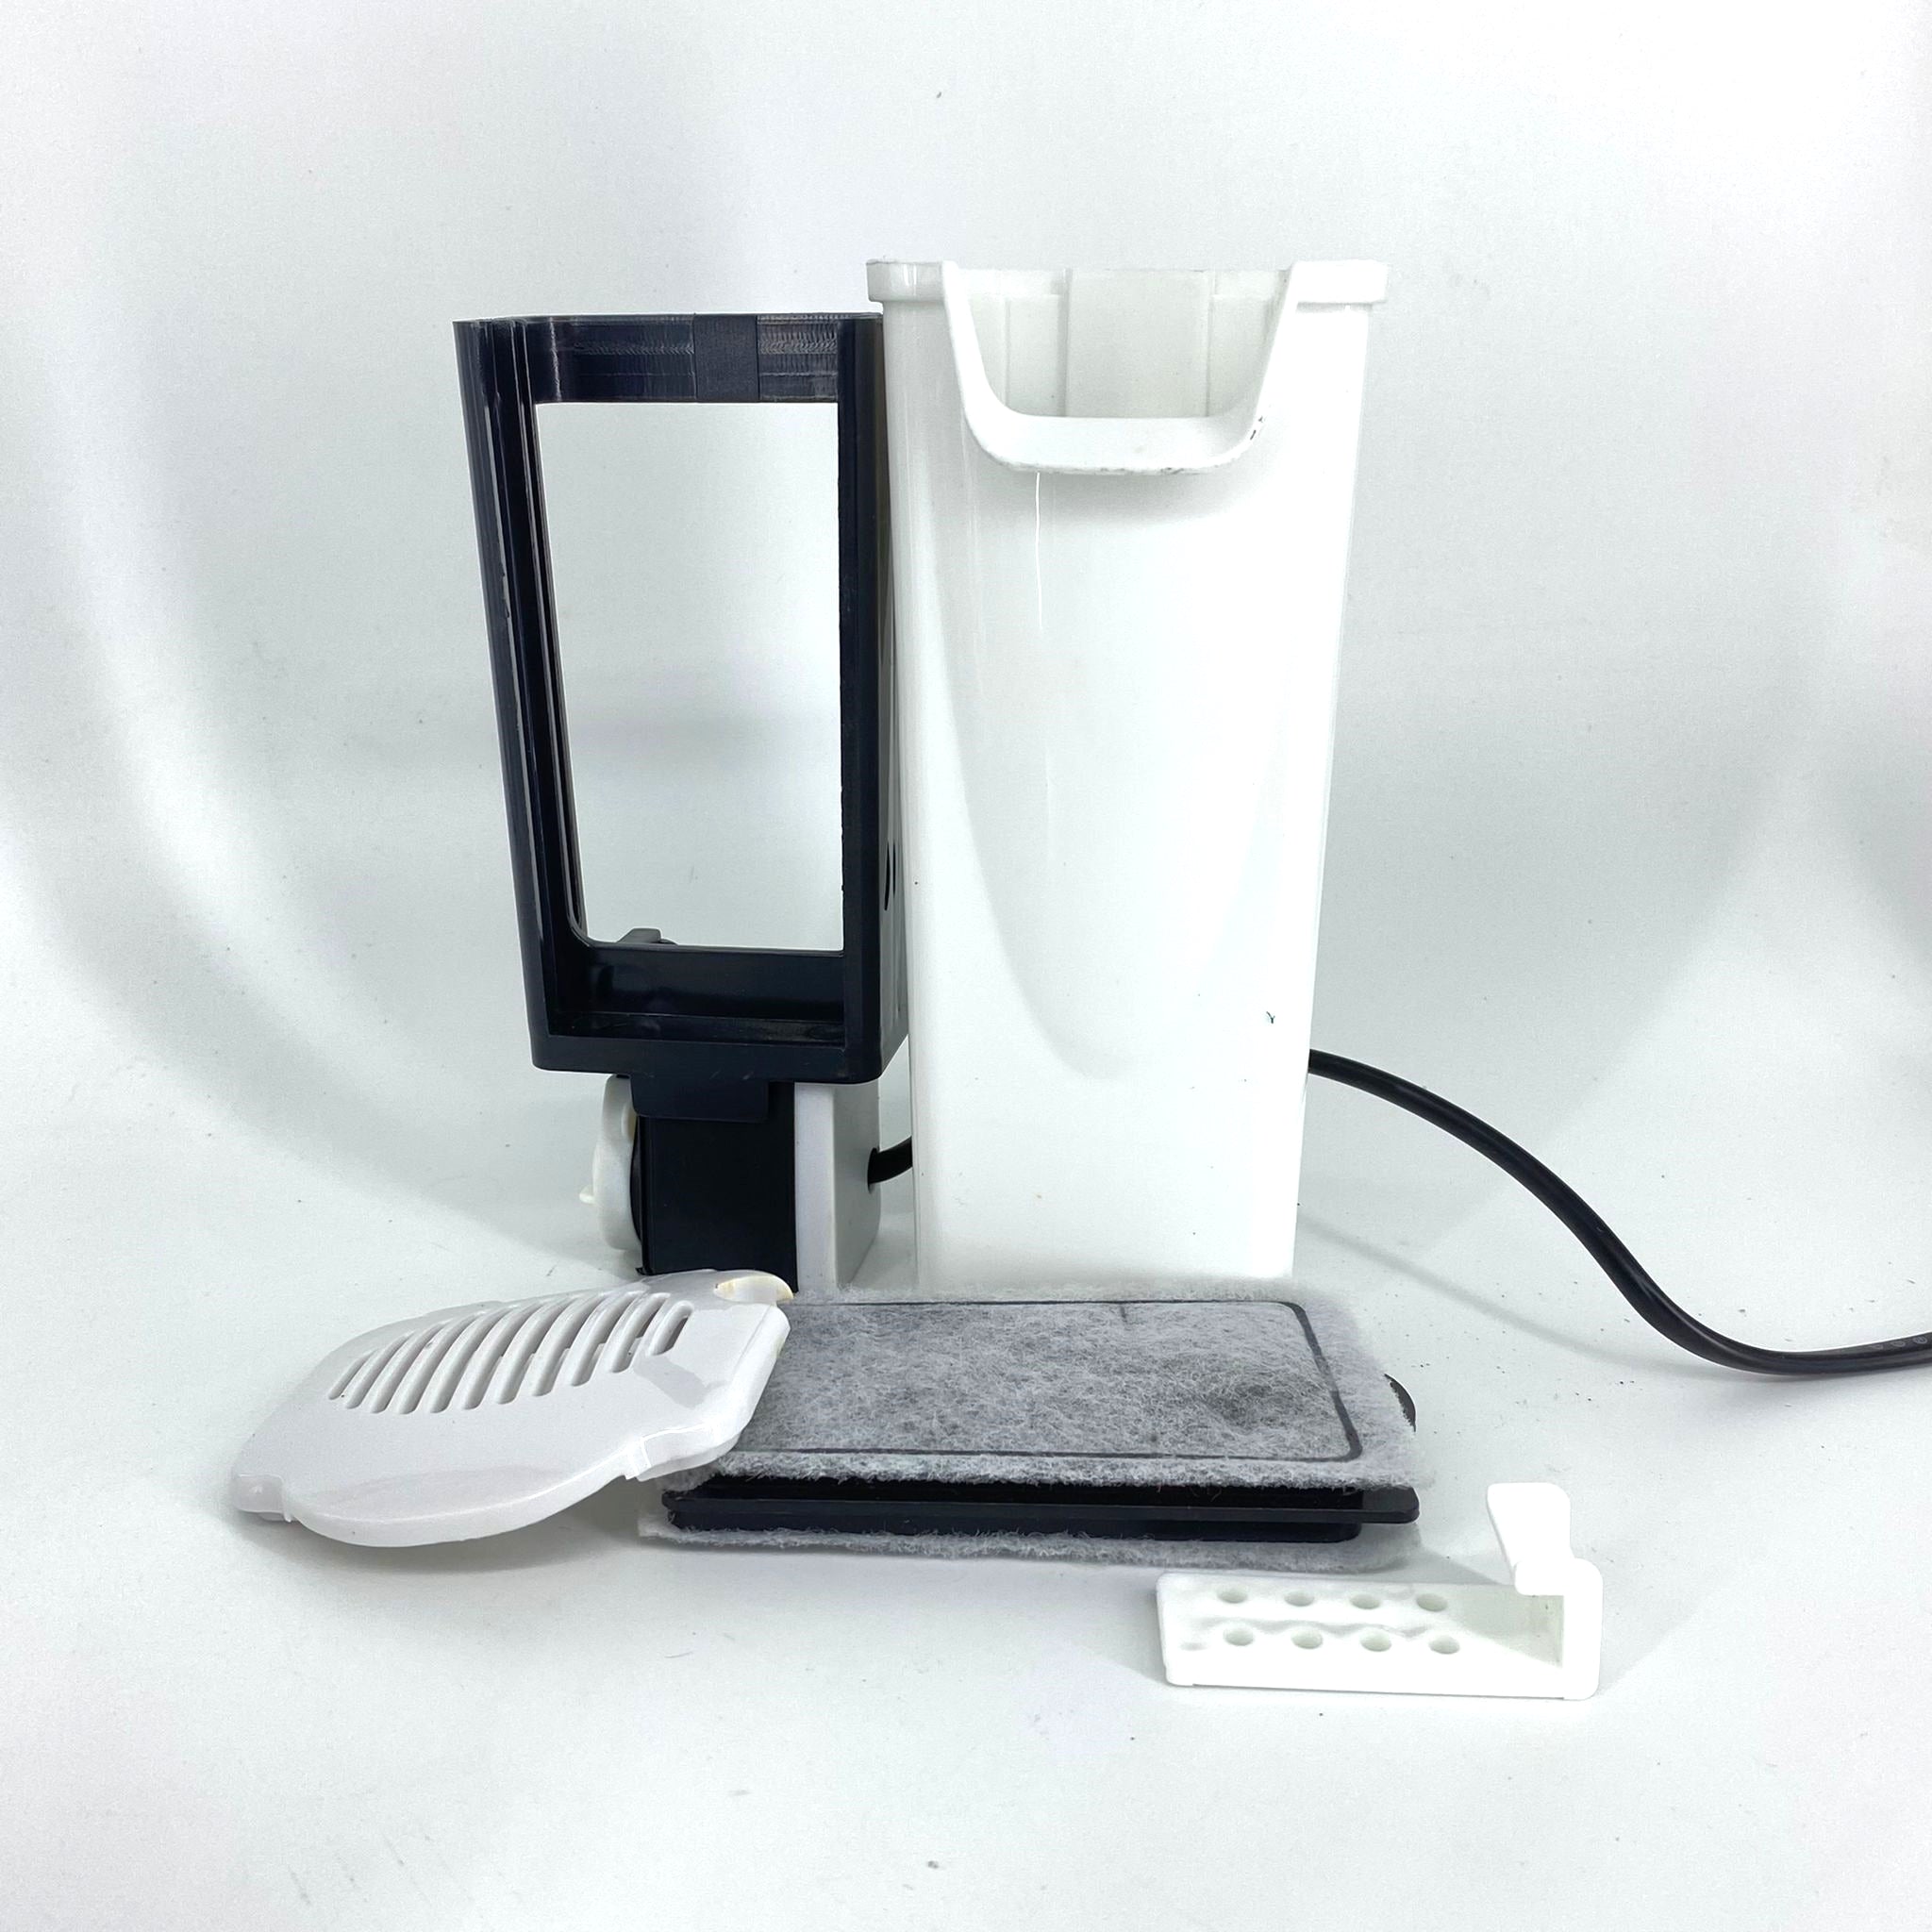
A canopy is a larger, box-like structure that encloses the top of the tank and extends downward past the rim. Canopies hide hang-on-back filters, heater cords, and wiring while providing ample space for upgraded lighting. They offer a more furniture-like appearance that integrates the tank into your living room decor.
Best Ready-Made Options
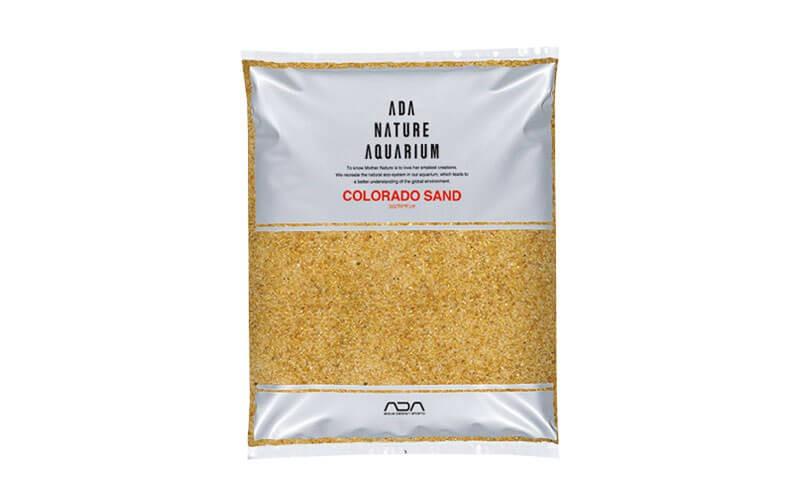
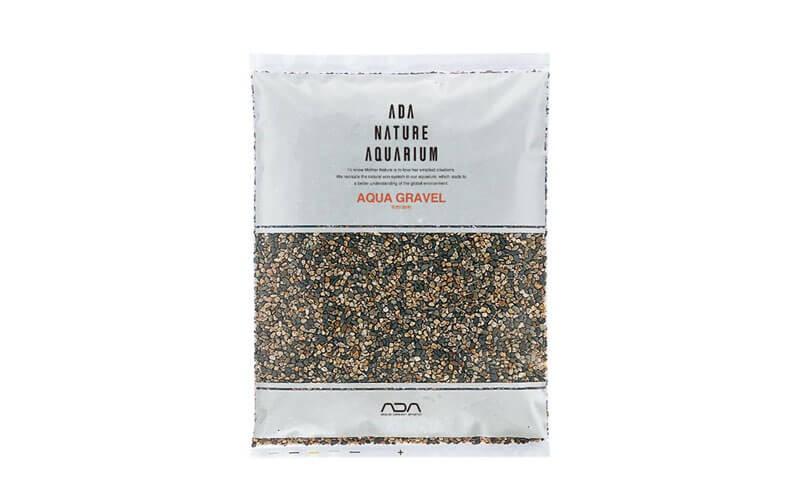
ADA (Aqua Design Amano) and Chihiros offer minimalist aluminium light stands and canopy-style shade units that suit rimless tanks beautifully. Prices start around $80 for a Chihiros shade and climb to $200+ for ADA’s premium metal fittings. These are engineered for open-top tanks and rely on suspended lighting rather than full enclosure.
For traditional hooded setups, Aquael and Juwel manufacture complete hood-and-light combinations sized to common tank dimensions (60 cm, 80 cm, 100 cm). They include waterproof lighting modules and integrated feeding flaps. Expect to pay $50–$120 depending on length, available at local fish shops along Serangoon North Avenue 1 and online on Lazada.
DIY Canopy: Materials and Planning
Building your own canopy lets you match it precisely to your stand and room furniture. Marine-grade plywood (9–12 mm) sealed with multiple coats of waterproof polyurethane is the standard material. Avoid MDF — it swells irreversibly when exposed to humidity, and aquarium canopies experience constant moisture. Total material cost for a 90 cm canopy sits around $40–$80.
Measure the external dimensions of your tank, add 1–2 cm clearance on each side, and plan a height of 15–25 cm. Include a hinged top panel or a front-tilting access door for feeding and maintenance. Use stainless steel piano hinges — regular zinc-plated hinges corrode within months in the humid environment above a tank.
Ventilation and Heat Management
Enclosed canopies trap heat from lighting, raising water temperature — a genuine concern in Singapore where ambient temperatures already push 30 °C. Cut ventilation slots or install 40 mm PC fans at the back panel to exhaust warm air. A single 12 V fan drawing 0.1 A costs under $5 and can lower canopy air temperature by 3–5 °C.
Position fans to pull air out from the top rear while allowing fresh air to enter from the front or sides. This creates a gentle cross-flow that prevents condensation on the inner canopy surface, which otherwise drips back and causes water spots on the glass and accelerates wood degradation.
Lighting Integration
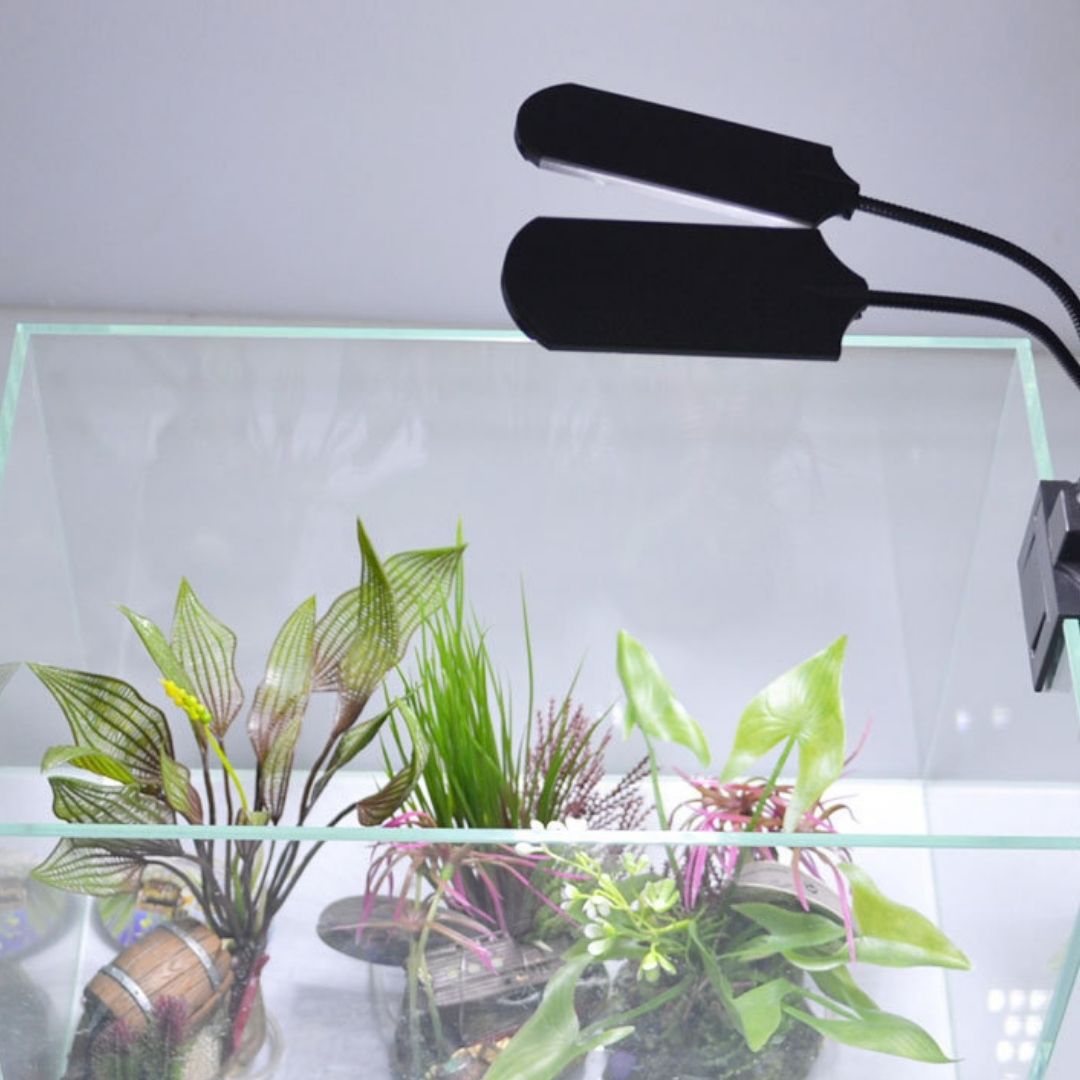
Canopies open up lighting options. Rather than being limited to the light strip that came with a hood, you can mount any LED panel, strip, or pendant inside the canopy. Chihiros WRGB II, Twinstar, and ONF Flat Nano are popular choices among planted tank enthusiasts in Singapore. Mounting height inside the canopy affects light spread — 10–15 cm above the water surface is typical.
Waterproof your electrical connections inside the canopy. Condensation is inevitable, so use silicone-sealed LED drivers and IP65-rated connectors where possible. Route cables through a neat exit hole at the back, sealed with a rubber grommet to prevent moisture escaping into your wall socket area.
Finishing and Aesthetics
Sand the exterior smooth and apply primer before painting or staining. Matte black, walnut stain, and white satin are the most popular finishes among our clients at Gensou Aquascaping — each suits different interior styles. For a truly seamless look, match the canopy finish to your tank stand using the same brand and batch of paint or stain.
Interior surfaces should be painted white or lined with reflective aluminium tape to maximise light bounce back into the tank. Dark interiors absorb light and create shadows, effectively wasting a portion of your LED output. This simple step can improve light reaching the substrate by 10–15 %.
When to Skip the Canopy
Open-top rimless tanks with suspended pendant lights are the current aesthetic trend in aquascaping. If you run a modern silent setup with an inline canister filter and no hang-on-back equipment to hide, a canopy may detract from the clean look. In that case, a simple glass lid or mesh cover for child proofing and jump prevention is all you need.
The best aquarium canopy or hood depends entirely on your priorities — aesthetics, equipment concealment, humidity control, or a combination of all three. Whether you buy off the shelf or build one over a weekend, getting this element right elevates your entire setup from functional to furniture-grade.
Related Reading
emilynakatani
Still Have Questions About Your Tank?
Drop by Gensou Aquascaping — most walk-in questions get answered in under 10 minutes by someone who has set up hundreds of tanks.
5 Everton Park #01-34B, Singapore 080005 · Open daily 11am – 8pm


