
DIY Egg Tumbler Fish Breeding Build Guide
A properly tuned egg tumbler is the difference between a clutch of two hundred angelfish eggs hatching at ninety percent and one losing two-thirds to fungus inside forty-eight hours. This diy egg tumbler fish breeding build guide from Gensou Aquascaping at 5 Everton Park walks through a PVC-and-mesh tumbler that costs under SGD 15 in parts and outperforms several commercial units we have bench-tested against it. Expect measurements in millimetres, air-flow numbers in litres per minute, and the small adjustments that actually matter.
What an Egg Tumbler Does
Tumblers suspend fertilised eggs in a gentle vertical current, replicating the parent fish’s fin-fanning. Consistent motion prevents fungus colonisation, ensures oxygen contact across the membrane, and separates hatched wrigglers from unviable eggs that sink and can be siphoned away. For Singapore breeders raising angelfish, discus, apistogramma or pleco eggs after parental failure, a tumbler converts salvage into success.
Parts List and SGD Costs
You need a 40 mm diameter PVC pipe cut to 150 mm length, two push-fit end caps, a small sheet of 0.5 mm stainless mesh, silicone aquarium adhesive, airline tubing, an airstone valve, and a suitable air pump. Expect SGD 3 for the PVC and caps from any hardware shop along Lavender Street, SGD 4 for the mesh from Sim Lim Square electronics stalls, SGD 6 for airline and valve at C328 Clementi, and SGD 15 to 25 for a quiet pump such as the Eheim 100 if you do not already own one. Our quiet air pump guide lists the current shortlist.
Cutting the Body
Saw the PVC to 150 mm and square the ends with sandpaper. Drill a 5 mm hole 10 mm from the bottom to admit the airline. A 40 mm diameter gives enough vertical water column for eggs to fall and rise through a full cycle without crashing into the walls. Smaller pipes create turbulence that rolls eggs against the sides; larger pipes lose the laminar tumble you are chasing.
Making the Mesh Base
Cut two 50 mm circles from the stainless mesh. Push the first disc flush against the inside of a drilled end cap, sealed with a thin silicone ring. This is the floor that traps eggs while letting water and bubbles through. The second disc goes into the top cap, loosely so bubbles exit upward without blasting eggs out. Cure silicone for 48 hours in a ventilated space; residual acetic acid kills eggs instantly, so do not rush this step. Our sponge filter cycling guide covers how to prepare the host water separately.
Air Supply and Flow Tuning
Connect the airline to the bottom inlet and feed it from a pump delivering roughly 1.5 to 2.5 litres per minute with an airstone valve for fine control. The visual target is eggs rising smoothly about two-thirds of the tube height, pausing briefly, then falling back in a slow shower. Too much air and eggs hammer the top mesh; too little and they settle on the floor and develop fungus. Adjust the valve over five minutes and observe before loading any eggs.
Mounting the Tumbler
Suction-cup the PVC tube to a 30 to 60 litre dedicated hatching tank, vertically aligned, with the top 20 mm above the water line so hatched wrigglers spill into the main tank when they develop swimming strength. Water temperature should match the parent tank within one degree; Singapore’s ambient 29 degrees Celsius typically needs no heater for tropical egg species. Match pH and hardness exactly, since eggs are particularly sensitive to sudden parameter shifts.
Water Changes and Fungus Prevention
Change 20 percent daily using temperature-matched aged tap water treated with dechlorinator. A single drop of methylene blue per 10 litres tints the water faintly and suppresses saprolegnia without harming healthy eggs. Remove any opaque white eggs with a 3 mm pipette at least twice daily; a single rotten egg contaminates dozens of healthy neighbours within hours.
Species That Benefit Most
Angelfish, discus, rams and dwarf cichlid eggs suit this build natively. For substrate spawners such as kribensis, harvest eggs with the clay pot they were laid on and place the whole lot near the airflow rather than inside the tube. Pleco eggs from bristlenose spawns suit a slightly larger 50 mm tube; the same design scales cleanly. Our hatching jar substrate spawner guide covers the alternative for egg-burying species.
Scaling for Large Clutches
A 150 mm tube holds roughly 300 angelfish eggs comfortably. For larger discus clutches, build two tubes rather than one longer one because airflow dynamics get twitchy beyond 200 mm of vertical run. Parallel builds also isolate risk; a fungus outbreak in one tube does not compromise the other.
Common Build Mistakes and Longevity
Mesh too coarse at 1 mm lets small eggs through; stick to 0.5 mm. Silicone not fully cured leaches acetic acid. Airline inserted too deep pushes bubbles against a wall instead of centre-rising, creating lopsided flow. A loose top cap rattles and stresses wrigglers at hatch. After parts, the tumbler runs on roughly 3 watts of air pump, about SGD 1 per month in Singapore electricity, and the PVC tube lasts indefinitely while mesh typically needs replacement at the two-year mark.
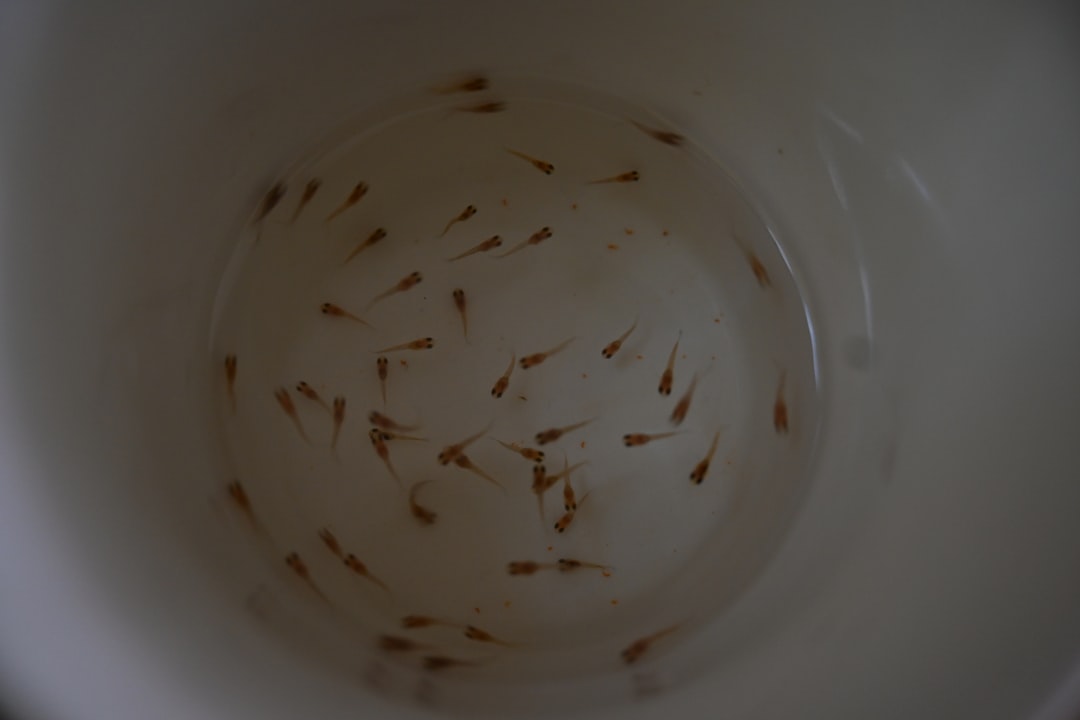
When to Harvest Wrigglers
Most species hatch within 48 to 72 hours at 29 degrees Celsius and remain wrigglers for another three days absorbing yolk. Once swimming freely, transfer to a shallow fry tank and begin feeding paramecium or commercial liquid fry food, graduating to newly hatched brine shrimp at day seven per our fry food progression guide. Survival past this point owes more to food quality than tumbler design.
Related Reading
emilynakatani
Still Have Questions About Your Tank?
Drop by Gensou Aquascaping — most walk-in questions get answered in under 10 minutes by someone who has set up hundreds of tanks.
5 Everton Park #01-34B, Singapore 080005 · Open daily 11am – 8pm


