

How to Set Up an Automatic Water Change System
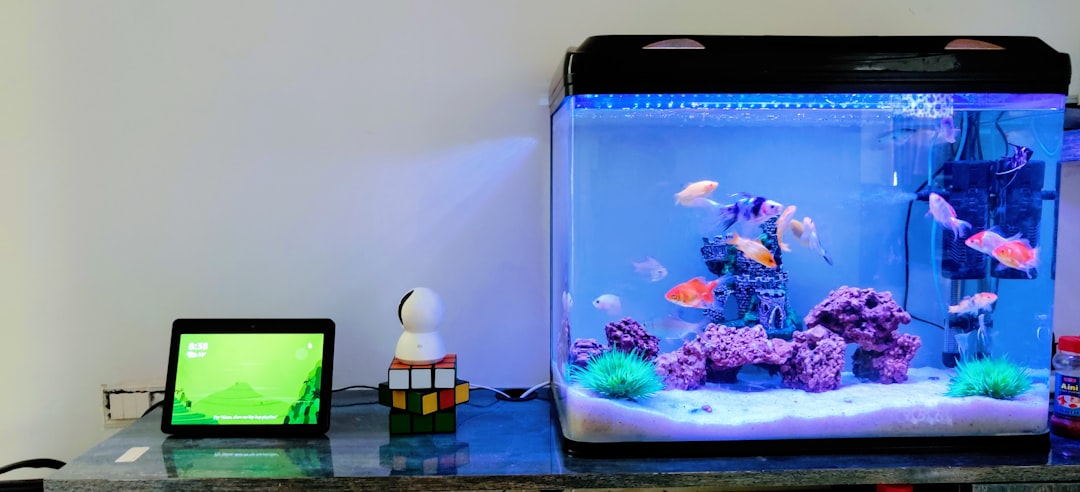
Table of Contents
- Why Automate Water Changes?
- How Automatic Water Change Systems Work
- Types of Automatic Water Change Systems
- Setting Up a Continuous Drip System
- Setting Up a Timer-Based System
- Water Treatment Considerations
- Singapore Plumbing and HDB Considerations
- System Maintenance
- Common Mistakes to Avoid
- Frequently Asked Questions
- Conclusion
Why Automate Water Changes?
Regular water changes are the single most effective maintenance task for a healthy aquarium, yet they are also the most time-consuming and frequently skipped. An automatic water change aquarium system eliminates the manual effort of siphoning, carrying buckets and refilling, replacing it with a steady, reliable process that keeps your water parameters consistently pristine.
At Gensou, our aquascaping studio at 5 Everton Park, we have been designing and installing automated aquarium systems for Singapore hobbyists for over 20 years. Whether you manage a single planted tank or a multi-tank fish room, automating your water changes frees up hours each week and, more importantly, provides your fish with the stable water conditions they need to thrive.
Benefits of Automated Water Changes
- Consistency: Small, frequent water changes are healthier for fish than large, infrequent ones. Automation makes this achievable.
- Stable parameters: Gradual water replacement avoids the sudden shifts in pH, temperature and hardness that manual changes can cause.
- Time savings: A properly set up system requires only periodic checks rather than weekly hands-on maintenance.
- Reduced nitrate accumulation: Continuous or frequent small changes keep nitrate levels consistently low.
- Holiday peace of mind: Your tank continues to receive fresh water even when you are away.
How Automatic Water Change Systems Work
The basic principle is straightforward: fresh water flows into the aquarium while old water simultaneously drains out. The water level remains constant because the inflow and outflow rates are balanced. There are two main approaches:
| System Type | How It Works | Best For | Complexity |
|---|---|---|---|
| Continuous drip | Water drips in slowly via gravity; overflow drains out | Small to medium tanks, fish rooms | Low to moderate |
| Timer-based pump | Pump and solenoid valve controlled by timers | Medium to large tanks, precise control | Moderate to high |
Types of Automatic Water Change Systems
Gravity Drip System
The simplest setup uses gravity to drip dechlorinated water from a reservoir (or directly from a treated tap water line) into the tank. An overflow mechanism — either a standpipe inside the tank or a drilled bulkhead near the waterline — allows the same volume of old water to drain out to a floor drain or waste container.
Pump-Driven System
A small pump pushes fresh water into the tank on a programmed schedule. This offers more control over the volume and timing of water changes. A separate drain mechanism handles the outflow.
Hybrid System
Some hobbyists use a pump for the inflow and gravity for the outflow, or vice versa. The hybrid approach can be tailored to your specific setup and plumbing constraints.
Setting Up a Continuous Drip System
This is the most accessible method for most Singapore hobbyists and requires minimal equipment.
Materials Needed
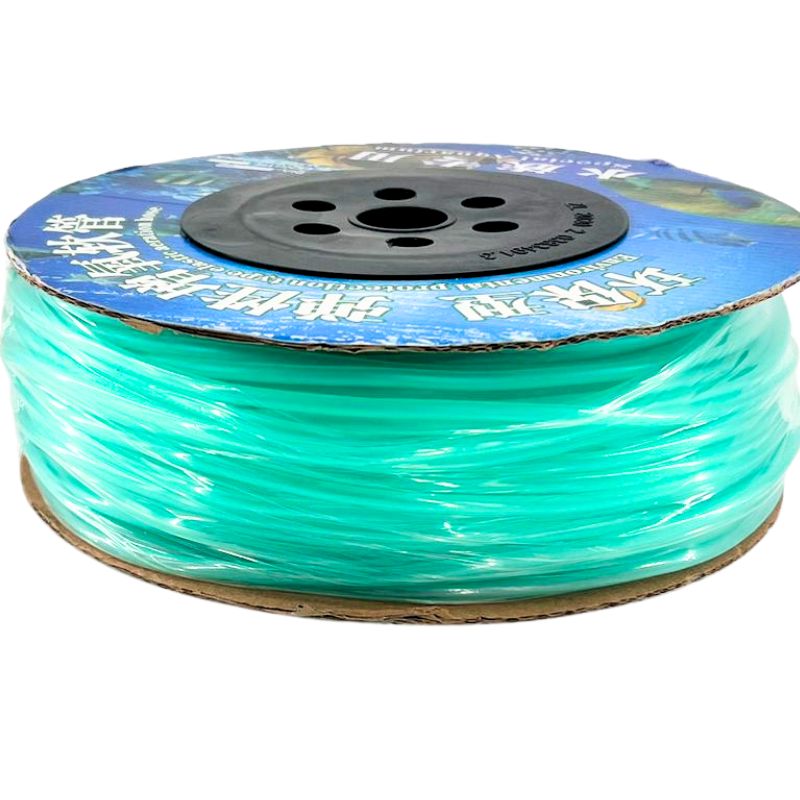
- Airline tubing or 6mm flexible tubing
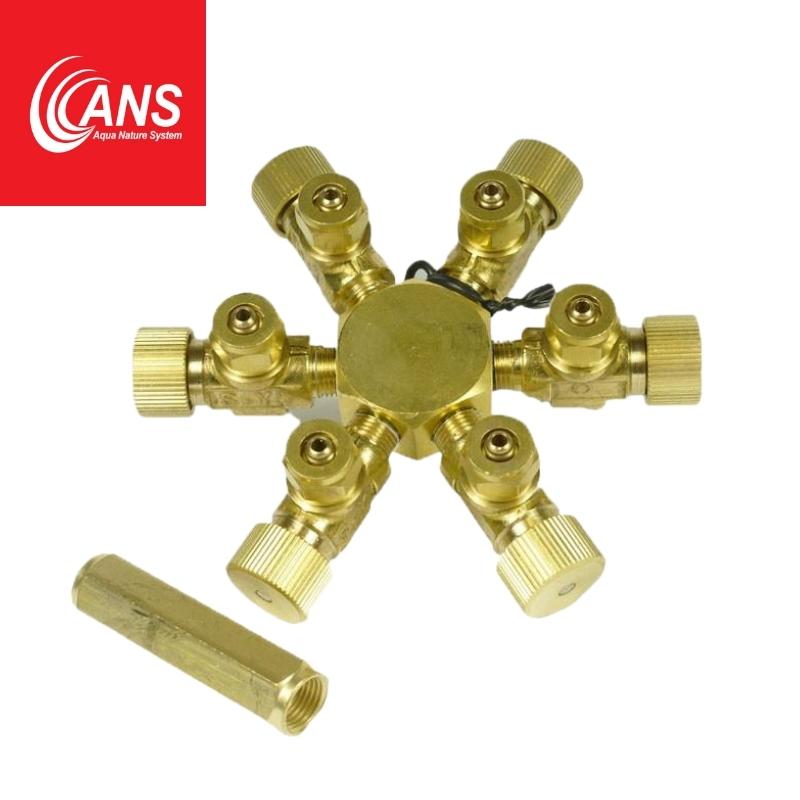
- An airline control valve (to regulate drip rate)
- A water reservoir (large bucket, container, or direct tap connection with dechlorinator)
- An overflow mechanism (standpipe, surface skimmer, or drilled bulkhead)
- A waste water container or drain connection
- Dechlorinator (if using tap water directly)
- Suction cups or clips to secure tubing
Step-by-Step Installation
- Position your water reservoir above the aquarium. If using a container, place it on a shelf or stand. The higher the reservoir, the stronger the gravity flow — even 30cm above the waterline is sufficient for a drip system.
- Connect airline tubing from the reservoir to the aquarium. Insert an airline control valve midway along the tubing to regulate the drip rate.
- Adjust the drip rate. Start slowly — 1 to 2 drips per second is suitable for most small to medium tanks. This equates to roughly 3 to 5 litres per hour, or about 10% of a 60-litre tank’s volume over 2 hours.
- Set up the overflow. The simplest method is a standpipe — a rigid tube inside the tank set to the desired water height. Water flowing over the top of the standpipe exits through tubing connected to a drain or waste container. Alternatively, drill a bulkhead fitting near the top of the tank for a cleaner installation.
- Route the drain tubing to a floor drain, bathroom, or waste container. In Singapore HDB flats, the nearest floor trap (usually in the bathroom or kitchen) is often within a few metres of the aquarium.
- Test the system. Run it for several hours while monitoring the water level. The inflow and outflow should balance — the water level should remain constant at the height set by your overflow mechanism.
- Add dechlorinator to the reservoir each time you refill it. Alternatively, use an inline dechlorinator unit on the supply line for a fully hands-off approach.
Calculating Your Drip Rate
| Tank Size | Target Weekly Change (20%) | Daily Volume Needed | Approximate Drip Rate |
|---|---|---|---|
| 30 litres | 6 litres | ~0.85 litres | ~1 drip every 3 seconds |
| 60 litres | 12 litres | ~1.7 litres | ~1 drip every 1.5 seconds |
| 120 litres | 24 litres | ~3.4 litres | ~1 drip per second |
| 240 litres | 48 litres | ~6.8 litres | ~2 drips per second |
Setting Up a Timer-Based System
For more control over when and how much water is changed, a timer-based system using a pump and solenoid valve is the way to go.
Materials Needed
- A small submersible or inline pump (rated for your required flow rate)
- A solenoid valve (12V DC, normally closed) — optional but recommended for tap water connections
- A digital timer (multiple on/off cycles per day)
- Flexible tubing (6mm or 12mm depending on flow rate)
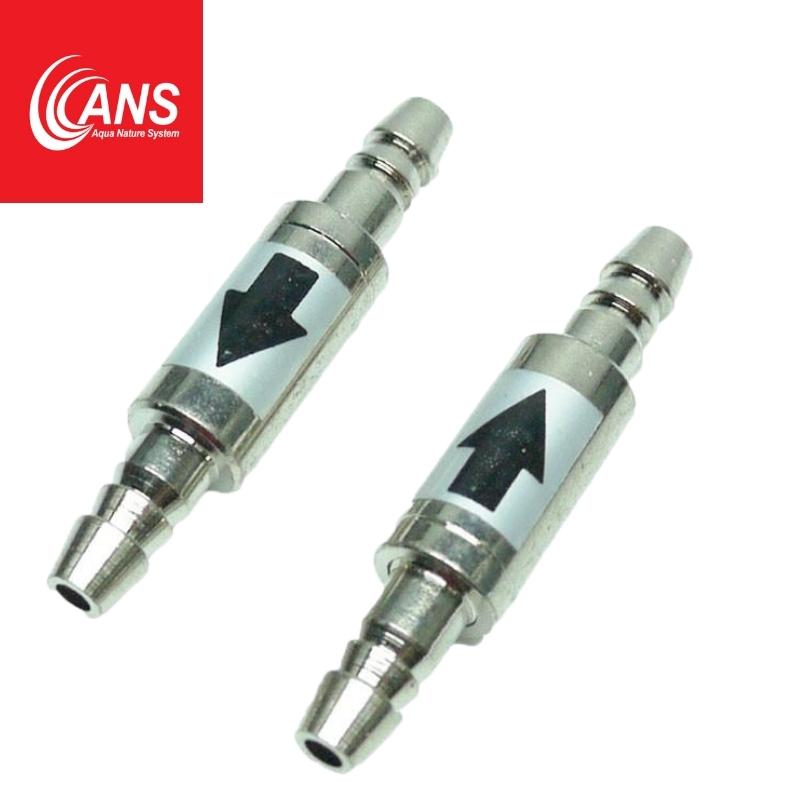
- Check valves
- Overflow mechanism (standpipe or bulkhead)
- Dechlorinator dosing system or inline unit
Step-by-Step Installation
- Connect the pump or solenoid to your water source (reservoir or treated tap water line).
- Set the digital timer to activate the pump for specific durations. For example, running a pump at 5 litres per minute for 2 minutes, three times a day, delivers 30 litres — a 25% daily water change on a 120-litre tank.
- Install the overflow mechanism as described in the drip system section above.
- Add an inline dechlorinator if drawing water directly from the tap. Products like carbon-based inline filters or automatic dechlorinator dosing pumps are available.
- Test thoroughly. Run the system through several cycles while watching for leaks, overflow issues or timing errors.
Water Treatment Considerations
Chlorine and Chloramine
Singapore’s tap water is treated with chlorine, which is toxic to fish and beneficial bacteria. Any automatic water change system must address dechlorination. Options include:
- Pre-treated reservoir: Fill a container with tap water, add liquid dechlorinator, and use this as your supply. This is the safest and simplest method.
- Inline carbon filter: A small activated carbon filter on the water supply line removes chlorine as the water passes through. Replace the carbon media regularly.
- Automatic dosing pump: A peristaltic dosing pump can inject precise amounts of dechlorinator into the water line in sync with each water change cycle.
Temperature Matching
In Singapore, tap water temperature (typically 27–29°C) is usually close to tropical aquarium temperatures, making temperature matching less of a concern than in temperate countries. However, if your tap water has been sitting in rooftop tanks under direct sun, it may be warmer than expected. Test the temperature during your first few days of operation.
Water Parameters
Singapore tap water is generally soft and slightly acidic to neutral (pH 6.5–7.5, GH 1–4 dGH), which suits most tropical fish and planted tanks well. However, if you keep species that require specific parameters (e.g., African cichlids needing hard, alkaline water), you will need to adjust the incoming water accordingly.
Singapore Plumbing and HDB Considerations
HDB Flats
Most Singapore aquarists live in HDB flats, which present specific considerations:
- Floor traps: Every HDB bathroom and kitchen has a floor trap connected to the sewage system. These make excellent drain points for outgoing aquarium water. Simply route your drain tubing to the nearest floor trap.
- Tap water points: The washing machine water point in the service yard is often the most convenient for connecting a water supply line. A T-connector and valve allow you to branch off without disrupting normal use.
- No drilling through walls: HDB regulations restrict drilling through structural walls. Route tubing along skirting boards, through doorways, or use cable trunking for a tidy installation.
- Leak protection: Place a water sensor alarm near the aquarium and along the tubing route. In an HDB flat, a leak can quickly become a neighbour’s problem.
Condominiums and Landed Properties
Private residences offer more flexibility. You may have access to outdoor taps, utility rooms and more space for reservoirs. If you are doing a major renovation, consider having your contractor run dedicated water supply and drain lines to your aquarium location — a small investment that pays off enormously in convenience.
Water Pressure
Singapore’s water pressure varies by location and building height. High floors in HDB blocks may have lower pressure, which affects gravity-fed systems. Test your water pressure before committing to a specific system design. A pressure gauge attached to the tap provides an accurate reading.
System Maintenance
An automated system is not entirely maintenance-free. Schedule these checks regularly:
| Task | Frequency | Notes |
|---|---|---|
| Check drip/flow rate | Weekly | Tubing can clog with mineral deposits over time |
| Clean overflow mechanism | Monthly | Algae and biofilm can block standpipes |
| Replace inline carbon filter | Every 1–2 months | Exhausted carbon no longer removes chlorine |
| Inspect tubing for leaks | Monthly | Connections can loosen over time |
| Test water parameters | Weekly | Ensure the system is actually improving water quality |
| Refill reservoir (if applicable) | As needed | Set a reminder to avoid running dry |
| Clean pump impeller | Every 2–3 months | Prevents reduced flow and pump failure |
Common Mistakes to Avoid
1. Forgetting Dechlorination
This is the most dangerous mistake. Running untreated tap water directly into your tank, even in small amounts, can wipe out your biological filter and harm your fish. Always have a dechlorination step in your system.
2. Not Testing the Overflow
If the overflow mechanism fails or clogs while the inflow continues, your tank will overflow onto your floor. Test the overflow thoroughly before leaving the system unattended. Consider adding a float valve as a secondary safety measure.
3. Over-Changing Water
More is not always better. Changing too much water too quickly can strip essential minerals and crash your biological filtration. For most community tanks, replacing 10 to 20 per cent of the water volume per day is sufficient.
4. Ignoring Evaporation
In Singapore’s warm climate, significant evaporation occurs daily. An automatic water change system also acts as an auto top-off, which is a bonus. However, be aware that if you are calculating water change volumes, some of the incoming water is replacing evaporated water (which leaves minerals behind) rather than diluting waste.
5. Poor Tubing Routing
Tubing that kinks, sags or loops below the drain point can create air locks that stop flow. Route tubing in smooth, downhill runs wherever possible. Secure it to walls or furniture to prevent shifting.
Frequently Asked Questions
Will an automatic water change system increase my water bill significantly?
For a typical 60-litre tank with 20% weekly changes, you are using about 12 litres per week or roughly 50 litres per month. At Singapore’s water tariff rates, this amounts to a negligible increase — well under $1 per month. Even large tanks or fish rooms rarely add more than a few dollars to the monthly water bill.
Can I use an automatic water change system with a planted tank running CO2?
Yes, but be mindful that incoming tap water may have a different pH and dissolved gas content than your tank water. The gradual nature of drip systems minimises any sudden parameter shifts. If you run a timer-based system that changes larger volumes at once, ensure the pump runs during your CO2 injection period so that plants can quickly rebalance the water chemistry.
What happens if there is a power outage?
Gravity drip systems continue to function during power outages since they do not require electricity. Timer-based pump systems will stop, but this simply means no water change occurs during the outage — your tank will not be harmed. The overflow mechanism is passive and will still prevent flooding if water continues to enter the tank by gravity.
Is it difficult to install in a rental flat?
Not at all. A gravity drip system using a reservoir requires no permanent modifications to the flat. You can set up and dismantle the entire system without leaving any marks. For a more permanent tap water connection, use a removable T-connector at the washing machine water point.
Related Reading
- Aquarium Cloudy After Water Change: Why and How to Fix It
- How Often to Change Aquarium Water: Finding Your Schedule
- Water Change Temperature Matching: Why It Matters
- How to Fix Cloudy Water After a Substrate Change
- How to Prevent Algae Blooms After a Water Change
Conclusion
Setting up an automatic water change aquarium system is one of the best investments you can make in your fishkeeping hobby. It saves time, improves water quality and reduces the stress that manual water changes place on both you and your fish. Singapore’s plumbing infrastructure, with accessible floor traps and consistent water pressure, makes installation straightforward in most homes.
Need help designing an automatic water change system for your specific setup? Contact Gensou at 5 Everton Park for expert advice. We can also design and install custom aquarium systems with integrated automatic water change features, tailored to your space and fishkeeping goals. With over 20 years of experience in Singapore, we have seen every plumbing challenge and solved it.


