
How to Set Up an Automatic Water Change System for Aquariums
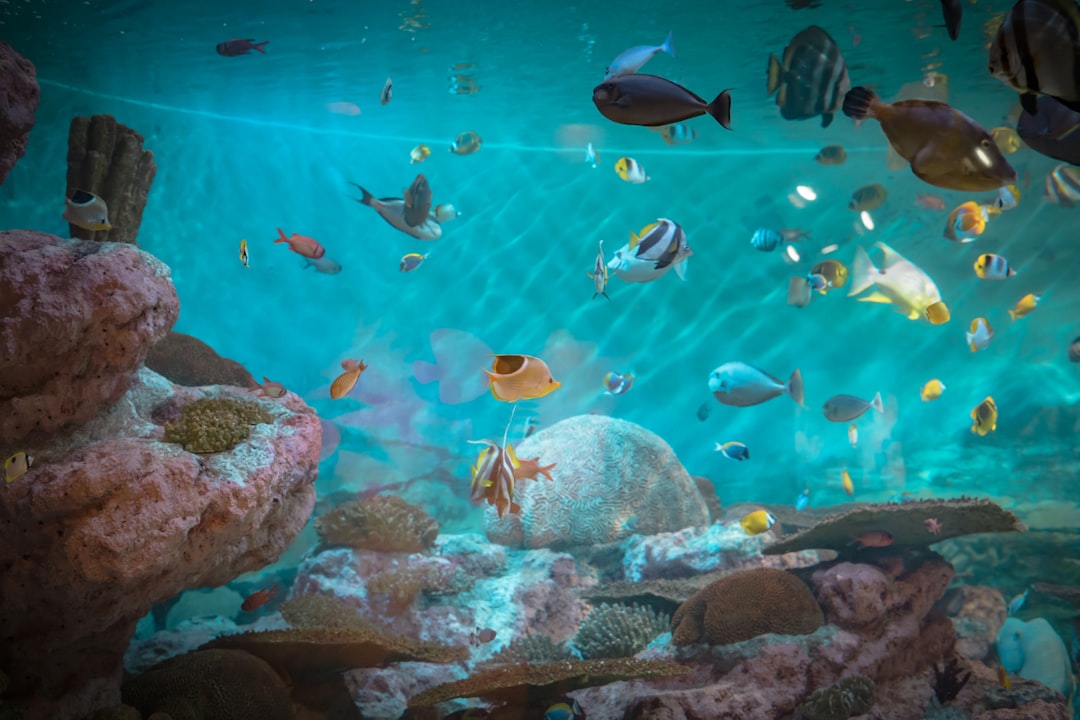
Water changes are the single most effective maintenance task for aquarium health, and they are also the task most likely to be skipped when life gets busy. An aquarium auto water change system removes that friction entirely — once set up correctly, it performs slow, steady water replacement daily or weekly without any manual effort. This guide from Gensou Aquascaping at 5 Everton Park, Singapore, walks through the components, planning, and setup process for automating water changes in home aquariums.
The Core Principle: Drip In, Drain Out
An automated water change system works by continuously or periodically supplying fresh dechlorinated water to the tank while simultaneously draining an equal volume out. The result is a perpetual, gentle dilution of nitrates, dissolved organics, and any accumulating compounds — far more effective at maintaining stable water quality than large weekly changes, and far gentler on fish because parameters shift gradually rather than abruptly. For shrimp tanks and sensitive species, this stability is particularly valuable.
System Types: Drip vs. Scheduled Pump
Two main approaches exist. A drip system uses a slow trickle of water (typically 2–5% of tank volume per day) delivered continuously via gravity or a small inline pump, with overflow draining passively through a standpipe or surface skimmer. This is the simplest and most passive option, with no timers or dosing pumps required. A scheduled pump system uses a dosing pump or small peristaltic pump on a timer to deliver precise volumes of new water at set intervals — daily, every other day, or twice weekly — with a corresponding drain pump or gravity drain removing the same volume simultaneously. The scheduled approach offers more control and suits larger tanks where a continuous drip rate would need to be too high to be practical.
Components You Will Need
For a basic drip system on a 60–120 litre tank, you need: a reservoir tank or bucket of 20–40 litres positioned above the display tank, filled with dechlorinated water; food-grade tubing connecting the reservoir to the tank via a drip valve or needle valve to control flow rate; and an overflow drain — either a standpipe inside the tank at the desired water level, or a surface skimmer feeding out to a drain bucket. A float valve on the reservoir connected to your tap supply can make the system fully autonomous, though this requires a permanently open water supply line — not practical for every HDB or condo setup in Singapore without additional plumbing work.
For a pump-based system, you additionally need a dosing pump (Jebao, Kamoer, or similar brands available on Shopee and Lazada for $40–120), a digital timer or smart plug, and appropriate tubing rated for the pump’s output. A drain pump or gravity overflow handles the outflow.
Dechlorination in an Automated System
Singapore tap water contains chloramine, which requires active dechlorination — aeration alone will not remove it. For a drip system delivering fresh tap water, you have two practical options. Pre-fill your reservoir, treat with Seachem Prime or equivalent, and allow it to mix for 30 minutes before the drip begins. Alternatively, an inline carbon block filter on the supply line will remove chloramine before water enters the tank — these are available from aquarium hardware suppliers and require cartridge replacement every three to six months depending on flow rate and water quality. Never drip untreated tap water directly into a tank with fish or shrimp; chloramine is acutely toxic to gill-breathing animals.
Calibrating the Flow Rate
For most community tanks, a daily water change of 2–5% is the target. For a 100-litre tank, that is 2–5 litres per day. To calibrate a drip valve, open it over a marked container for 60 seconds and measure the output, then multiply to calculate the hourly rate. Adjust the needle valve until the drip rate delivers the desired daily volume over 24 hours. Check the overflow drain is keeping pace — the water level should remain constant if inflow and outflow are balanced. Expect to revisit calibration occasionally as pressure in your water supply fluctuates slightly.
Maintenance of the System Itself
An auto water change system still requires periodic maintenance, just far less than manual changes. Check the reservoir weekly and refill as needed if it is not connected to a tap supply. Clean the drip lines monthly — algae and biofilm can partially block narrow tubing and alter the flow rate. Inspect the drain and overflow components quarterly for salt creep, algae, or debris. Dosing pump tubing (typically silicone or peristaltic rubber) should be replaced every 12–18 months as it becomes less flexible and prone to micro-leaks. A system that is well maintained can run reliably for years with minimal intervention.
Is It Worth Building?
For aquarists who keep multiple tanks, sensitive livestock, or simply struggle to maintain a consistent manual water change schedule, the answer is unambiguously yes. The components for a basic drip system cost $20–50 in total. A pump-based system for a larger tank might run $100–200 including a quality dosing pump. Compared to the cost of fish losses from inconsistent water quality, or the stress of maintaining a demanding schedule during busy periods, automated water changes pay for themselves quickly. Gensou Aquascaping is happy to advise on the right system configuration for your specific tank during a consultation visit at 5 Everton Park.


