
How to Set Up a Continuous Drip Water System for Aquariums
Water change discipline separates thriving aquariums from struggling ones, but the manual process — buckets, hoses, dechlorinator doses — is time-consuming and easy to skip during a busy week. A continuous drip system automates this entirely: fresh conditioned water enters the tank slowly and continuously, while an overflow drain removes an equal volume, keeping parameters perpetually stable. This aquarium drip water system setup guide from Gensou Aquascaping at 5 Everton Park, Singapore explains the components, installation process, and important Singapore-specific considerations for running a drip system from PUB tap water.
What a Drip System Does and Who It Is For
A drip system replaces scheduled water changes with a continuous trickle — typically 5–15% of tank volume per day — of fresh, dechlorinated water entering the tank while an equivalent volume exits via an overflow standpipe or sump. The result is exceptionally stable water chemistry: nitrate accumulation is continuous but removal is equally continuous, eliminating the weekly peak-and-trough cycle that can stress sensitive species.
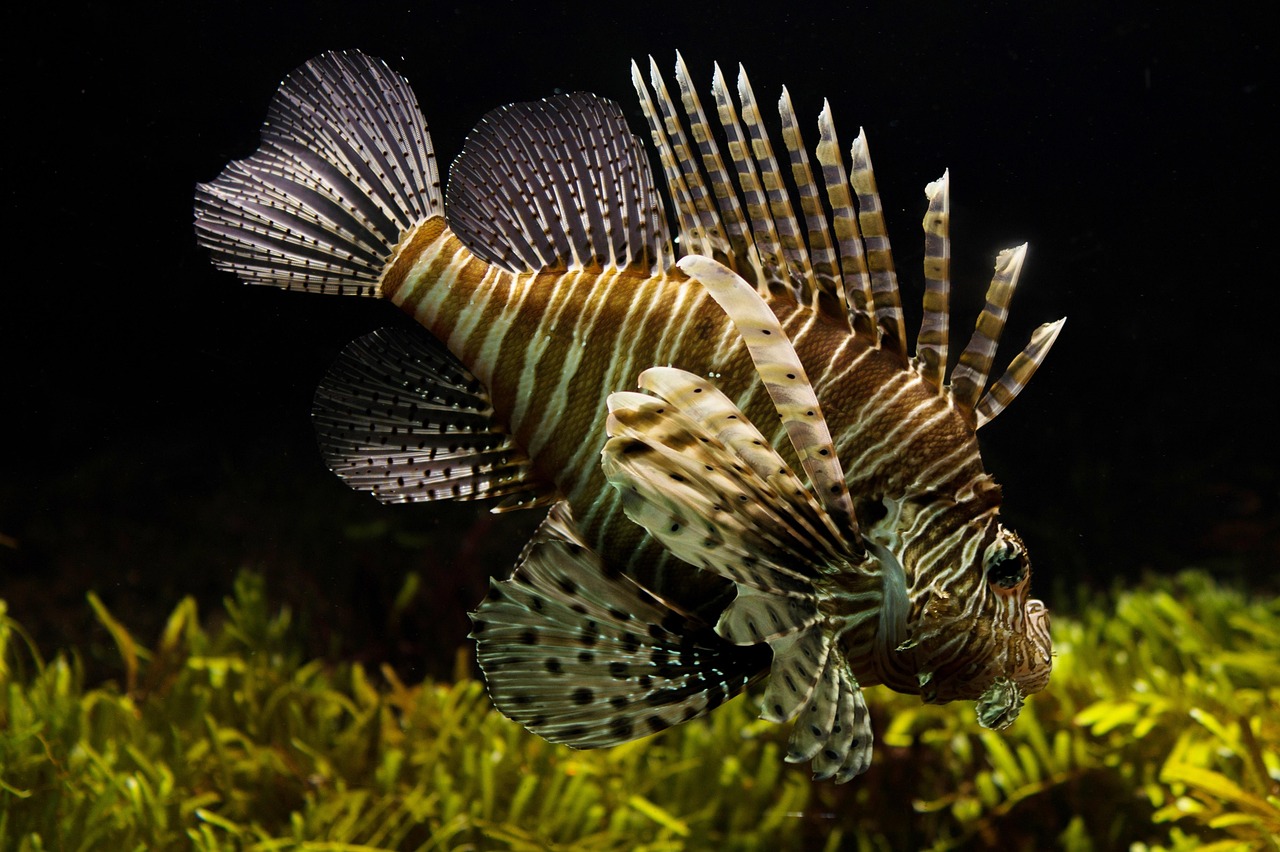
Drip systems are most valuable for shrimp breeders running Caridina species that demand stable GH, KH, and TDS; for fish breeders needing conditioning water to trigger spawning; and for heavily stocked systems where nitrate climbs faster than weekly changes can manage. They are also practical for aquarists who travel frequently and cannot maintain a consistent change schedule.
Singapore Water Considerations: The Chloramine Problem
This is the critical issue for any Singapore drip system. PUB tap water contains chloramine — a compound formed from chlorine and ammonia that does not evaporate like free chlorine and is not removed by standard carbon filtration or aeration. Running raw tap water directly into a tank via a drip system will continuously dose your livestock with chloramine at low levels, causing gill damage and chronic stress even without producing a visible acute reaction.
Two solutions exist. First, use a dechlorinator that specifically neutralises chloramine — products containing sodium thiosulphate plus a reducing agent, or dedicated chloramine removers like Seachem Prime. Dose into the drip line upstream of the tank. Second, pass the supply water through a reverse osmosis (RO) unit, which removes chloramine completely before adding back minerals with appropriate remineraliser. RO is the cleaner solution for Caridina shrimp systems where precise mineral composition matters.
Components Needed
A basic drip system requires relatively few components. You need a supply valve connected to your tap — a needle valve (not a ball valve) gives fine flow rate control, available from aquarium shops for $8–20. Tubing from the needle valve to the tank, either rigid 4/6 mm airline or soft silicone tubing. A drip emitter or adjustable flow valve to regulate the final delivery rate into the tank. And an overflow system — either a standpipe in a sump, a pre-drilled overflow, or a simple siphon overflow for rimmed tanks.
For inline dechlorination, a small canister packed with sodium thiosulphate granules and activated carbon placed in the supply line neutralises chloramine before water enters the tank. Replace the media every 4–6 weeks depending on flow rate and your water usage.
Setting the Right Flow Rate
Aim for a daily exchange of 5–10% for most community tanks; 10–20% for heavily stocked or shrimp breeding systems. For a 60-litre tank targeting 10% daily change (6 litres per day), your drip rate should be 250 mL per hour — roughly 4 drips per second from a standard airline. Use a measuring cup and stopwatch to calibrate the needle valve accurately before leaving the system unattended.
Too fast a flow rate introduces problems: temperature instability if the supply water temperature differs significantly from the tank (particularly relevant in non-air-conditioned rooms where tap water runs cooler than tank temperature), and rapid parameter shifts if you are dripping RO water with a different mineral profile than the tank.
Overflow Options for Rimless and Standard Tanks
For tanks with a sump, an overflow standpipe set to the desired water level handles drainage automatically — this is the most reliable approach. For rimless tanks without a sump, a simple siphon overflow (a U-tube hung over the rim, draining to a waste bucket or floor drain) works but requires priming after power outages. Pre-drilled tanks with an overflow box offer the cleanest solution but require either purchasing a drilled tank or drilling an existing one — achievable with a diamond-tipped hole saw and patience.
In HDB flats, drain the overflow to a floor drain in the kitchen or bathroom rather than a bucket requiring manual emptying. Running 6 litres per day into a bucket that holds 10 litres is a recipe for an overflow disaster during a busy week.
Monitoring and Maintenance
Check the system weekly: confirm the supply valve is flowing at the calibrated rate, inspect inline media for exhaustion, ensure the overflow is draining correctly. Signs of a blocked drip line include a rising water level in the tank beyond normal; signs of a blocked or slow overflow include the same. A small float valve installed on the overflow standpipe provides a high-water cutoff that prevents overflow if the drain blocks.
Test water parameters monthly to confirm the drip system is achieving the intended chemistry stability. In a well-running drip system on a planted tank, nitrate should remain below 10 mg/L even with moderate fish stocking — noticeably lower than weekly manual changes achieve. The team at Gensou Aquascaping uses drip systems on several breeding setups and is happy to advise on configuration for your specific tank and livestock.


