
Dutch Aquascape Step by Step: Rows, Streets and Plant Groups
Before Takashi Amano popularised the nature style, Dutch aquascaping already had decades of tradition behind it. Originating in the Netherlands in the 1930s, this style treats the tank like a garden bed: dense, colourful, and meticulously arranged in rows and terraces. A proper dutch aquascape step by step guide walks you through the compositional principles that separate a stunning Dutch tank from a chaotic jungle. At Gensou Aquascaping, 5 Everton Park, Singapore, we appreciate this style for its horticultural discipline and vibrant visual impact. This guide sits inside our broader Aquascaping Styles Design Hub reference.
Understanding Dutch Composition Rules
Dutch layouts follow guidelines developed by the NBAT (Dutch aquascaping society). The tank is divided into visual thirds, both horizontally and from front to back. Each plant group occupies a distinct zone, and no single species should dominate more than one-third of the floor plan. A focal point, usually a striking red or unusually textured plant, sits at one of the golden ratio intersections, roughly one-third from either side.
The Street: Creating Depth
A “street” is a diagonal corridor of low-growing plants that runs from the front corner toward the rear, creating a powerful sense of depth. Use species like Lobelia cardinalis ‘small form’, Staurogyne repens, or Saurus cernuus trimmed to a gradual incline. The street should narrow as it recedes, enhancing the perspective illusion. Position it off-centre for the most natural appearance. This single technique transforms a flat-looking tank into one with perceived depth far beyond its actual 30-40 cm.
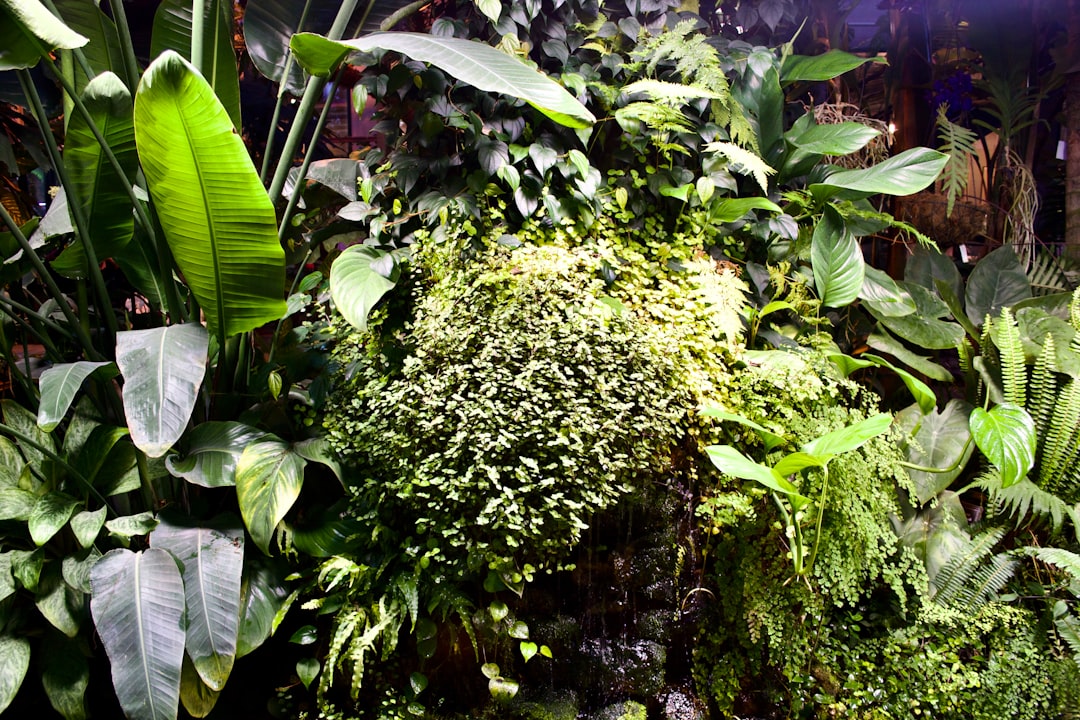
Choosing Plant Groups
Aim for 8-12 distinct species in a 90-120 cm tank. Alternate leaf shapes and colours between adjacent groups: a fine-leaved Rotala wallichii next to a broad-leaved Alternanthera reineckii, then a feathery Limnophila aquatica. Contrast is everything. Each group should contain enough stems (10-20) to form a solid visual block. Single stems scattered randomly break the structured rhythm that defines a Dutch scape.
Substrate and Fertilisation
Dutch tanks are plant-intensive, so a rich substrate is essential. ADA Amazonia or Tropica Soil provides the base nutrition. Supplement with root tabs every two to three months and daily liquid dosing of nitrogen, phosphorus, potassium, and trace elements. A pressurised CO2 system at 25-30 ppm supports the demanding species palette. Budget around $150-$200 for the initial soil, fertiliser stock, and CO2 setup from local Singapore suppliers.
Lighting for Colour and Density
Dutch tanks need high, even light across the entire footprint to ensure uniform growth in all plant groups. Aim for 80-100 micromoles PAR at substrate level using a full-spectrum LED. Uneven lighting causes some groups to stretch while others stay compact, breaking the disciplined row structure. A Chihiros VIVID or Twinstar E-series provides the intensity and colour rendering needed. Run the photoperiod at 7-8 hours to balance growth and algae prevention.
Planting Day: Practical Steps
Fill the tank with substrate to a depth of 5-8 cm, sloped higher at the back. Flood to just above substrate level to keep plants moist while you work. Start planting from the background forward, placing the tallest species first: Rotala macrandra, Hygrophila corymbosa, or Limnophila aquatica. Work forward through the midground groups, then finish with the foreground and street. Use long aquascaping tweezers to insert each stem at least 3 cm deep. Fill the tank slowly once all plants are positioned.
Trimming and Maintenance Rhythm
A Dutch scape requires weekly trimming to maintain its structured appearance. Trim each plant group into a slightly convex dome shape, higher in the centre and tapering at the edges. This creates the signature “rolling hills” profile when groups sit side by side. Remove any stems that have grown outside their designated zone. Every eight to twelve weeks, uproot and replant tops from leggy groups to refresh the base. This intensive maintenance is the price of the style, but the visual reward is exceptional.
Common Mistakes in Dutch Aquascaping
Using too many green species without enough colour contrast is the most frequent error. Aim for at least three red or orange-toned groups distributed across the layout. Another mistake is allowing one vigorous species to overgrow its neighbours, which happens quickly with fast growers like Hygrophila difformis. Stick to your trimming schedule and be ruthless about maintaining boundaries between groups. A neglected Dutch tank reverts to chaos within a fortnight.


