
How to Light Your Aquascape for Photography: Angles and Exposure
A stunning aquascape can look flat and lifeless in a photograph if the lighting is wrong. Capturing the depth, colour, and atmosphere of your planted tank requires deliberate control over light sources, angles, and camera settings. This light aquascape photography guide from Gensou Aquascaping in Singapore shares the techniques we use when photographing client tanks and competition entries, turning a three-dimensional living artwork into a compelling two-dimensional image.
Turn Off Room Lights First
Ambient room light is the biggest enemy of clean aquarium photography. Overhead fluorescent tubes, window glare, and nearby lamps create reflections on the glass and wash out colour saturation. Photograph your tank in a darkened room where the only illumination comes from the tank’s own LED. Close curtains, switch off ceiling lights, and block any light source that might reflect off the front glass. This single step improves image quality more than any camera upgrade.
Positioning Your Tank Light
Centre the light directly above the tank for even illumination across the layout. If your LED is adjustable, raise it slightly higher than normal viewing position to reduce harsh shadows behind hardscape. A light suspended 15-20 cm above the waterline gives a natural, diffused look. For dramatic effect, shift the light slightly toward the rear of the tank, which deepens shadows in the foreground and creates a sense of depth that draws the viewer’s eye into the layout.
Colour Temperature and White Balance
Most aquarium LEDs run at 6500-8000K, which appears bluish-white to the camera. Set your camera’s white balance manually to match your light’s colour temperature, or shoot in RAW and adjust during post-processing. Auto white balance often overcorrects, making plants look yellow or water appear grey. For planted tanks, 6500K produces the most natural green tones. If your LED has adjustable channels, reduce the blue slightly and boost green and red for richer plant colour in photographs.
Camera Settings for Sharp Results
Use a tripod. Even the steadiest hands cannot match a tripod’s stability during a 1/30-second exposure in a dim room. Set your aperture to f/5.6-f/8 for sufficient depth of field across the entire layout. ISO should stay at 100-400 to minimise noise. Shutter speed adjusts to suit, typically 1/15-1/60 second with adequate tank lighting. A remote shutter release or a 2-second timer prevents camera shake when pressing the shutter button.
Dealing With Glass Reflections
Reflections ruin otherwise perfect shots. Beyond darkening the room, wear dark clothing and stand as far back as possible while zooming in. A circular polarising filter reduces surface glare significantly and is worth the $20-$40 SGD investment. For the front glass, clean it inside and out with a microfibre cloth immediately before the shoot. Water spots, algae films, and fingerprints that are invisible to the naked eye become glaringly obvious in high-resolution photographs.
Shooting Angles That Work
The standard straight-on shot at mid-tank height captures the full layout and is essential for competition entries and portfolio documentation. Slightly lower angles create a more immersive perspective, as if the viewer is peering into the habitat from the waterline. Top-down shots showcase carpet plants and hardscape arrangement beautifully. Avoid shooting from above at an angle, which distorts proportions and introduces surface reflections. For each tank, take shots from multiple heights and choose the most compelling angle in post.
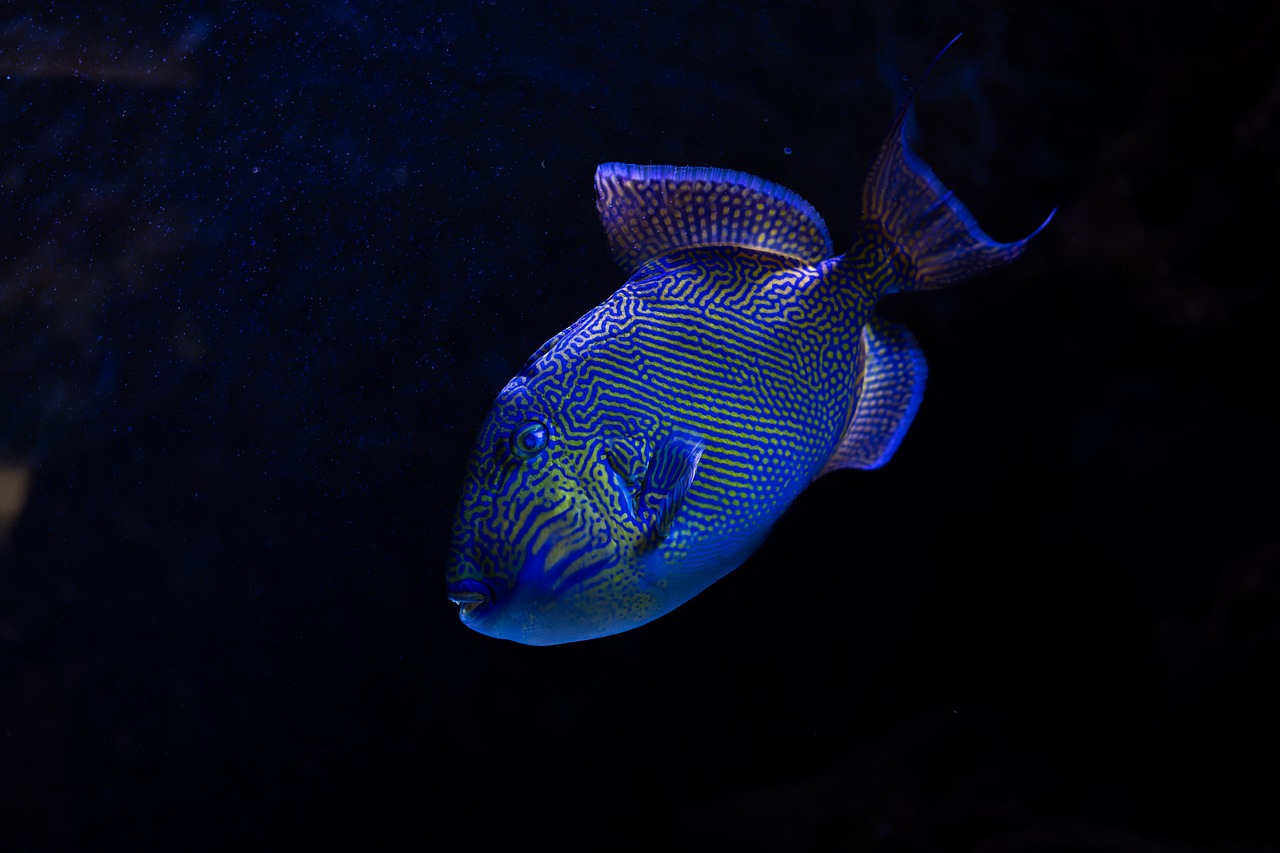
Capturing Fish in the Scene
Moving fish require faster shutter speeds, at least 1/125 second, which means increasing ISO or opening the aperture wider. Time your shots when the school is grouped naturally, often during or just after feeding. Burst mode captures multiple frames, increasing your chance of getting fish positioned attractively within the composition. For fish-free layout shots, herd the school to one end of the tank with a gentle hand wave and shoot the clear side quickly.
Post-Processing Tips
Subtle adjustments in Lightroom, Snapseed, or similar software elevate your images. Increase clarity slightly to enhance plant texture. Boost vibrance rather than saturation for more natural colour richness. Crop to remove equipment at the edges, and straighten the horizon if the waterline tilts. Avoid heavy-handed editing that makes the image look unrealistic. The goal is to present the aquascape as your eye sees it, not as a fantasy. A well-lit, well-composed photograph needs only minor refinement to shine.


