
Nature Aquarium Step by Step: Amano Style Layout and Planting
The nature aquarium style, pioneered by the late Takashi Amano, transforms an aquarium into a living landscape that evokes forests, mountains, and meadows. It looks effortless in photographs but demands careful planning and technique. This nature aquarium step-by-step guide walks you through every stage — from selecting the tank to the final planting — so you can create a balanced, Amano-inspired layout at home. At Gensou Aquascaping in Singapore, we have built nature-style displays for homes, offices, and exhibitions from our 5 Everton Park studio, and the process always begins with the same disciplined steps. This guide sits inside our broader Aquascaping Styles Design Hub reference.
Step 1: Choose the Right Tank
Rimless low-iron glass tanks are the standard for nature aquariums. The clear glass eliminates the green tint of standard float glass, letting you see true plant colours. A 60x30x36 cm (approximately 65 litres) tank is the most common starting size — large enough for a compelling layout, manageable for a single person. In Singapore, brands like ADA, ANS, and Aquario offer quality rimless tanks priced from $40 (ANS) to $250+ (ADA Cube Garden). Ensure your furniture can handle the weight: a 60 cm tank filled with substrate, hardscape, and water weighs roughly 75-85 kg.
Step 2: Substrate Layering
Start with a 1-2 cm base of volcanic gravel or pumice for drainage and root aeration. On top, add 4-6 cm of nutrient-rich aquasoil — ADA Amazonia is the classic choice, though alternatives like Tropica Aquarium Soil and UNS Controsoil perform well at lower cost ($15-$25 per 3-litre bag on Shopee). Build the substrate higher at the back than the front, creating a slope that adds depth perception. A back-to-front ratio of roughly 8 cm to 3 cm works well for a 60 cm tank. Use substrate support materials or lava rock chunks beneath the soil to maintain the slope over time.
Step 3: Hardscape Placement
This is the most critical step. Amano’s layouts follow natural proportions, often placing the primary stone or wood off-centre at approximately the golden ratio point (roughly one-third from either side). For a stone layout (iwagumi sub-style), select one large main stone, a secondary stone at two-thirds its height, and several smaller accent stones. For a driftwood layout, choose a piece with natural branching that suggests a tree trunk or root system. Spend time viewing the arrangement from the front — photograph it, step back, adjust. Do not rush this phase; the hardscape defines the entire composition.
Step 4: Planting the Layout
Nature aquariums use a limited palette of species, each assigned a role. Carpeting plants like Hemianthus callitrichoides (HC Cuba) or Micranthemum “Monte Carlo” cover the foreground. Midground plants — Cryptocoryne species, Staurogyne repens, or small Anubias — fill the transitional zone. Background stems like Rotala rotundifolia or Ludwigia species create height and colour. Mosses (Taxiphyllum barbieri, Vesicularia montagnei) soften hardscape edges when glued or tied on.
Plant densely from the start. Sparse planting leaves room for algae to colonise bare substrate during the vulnerable first weeks. Use fine-tipped aquascaping tweezers ($5-$10 on Shopee) to press plant portions firmly into the soil, spacing carpeting plugs about 2-3 cm apart.
Step 5: Filling and Cycling
Place a plastic bag or plate on the substrate and pour water onto it gently to avoid disturbing your planting. Fill to about 80% and start your filter, heater (usually unnecessary in Singapore unless keeping cool-water species), and CO2 system. New aquasoil leaches ammonia heavily for the first 2-3 weeks — this is normal and beneficial for cycling. Perform 50% water changes every other day during this period to keep ammonia manageable. Do not add fish or shrimp until ammonia and nitrite both read zero, which typically takes 3-4 weeks.
Step 6: Lighting and CO2 Schedule
Start with a 6-hour photoperiod during the first two weeks to limit algae while plants establish. Gradually increase to 8 hours over the following month. CO2 should run at 1-2 bubbles per second for a 60 cm tank, starting 1-2 hours before lights on and stopping at lights off. Aim for a lime-green drop checker colour (approximately 30 ppm CO2) during the photoperiod. A solenoid timer automates this entirely, costing around $15-$25.
Step 7: First Trim and Fish Introduction
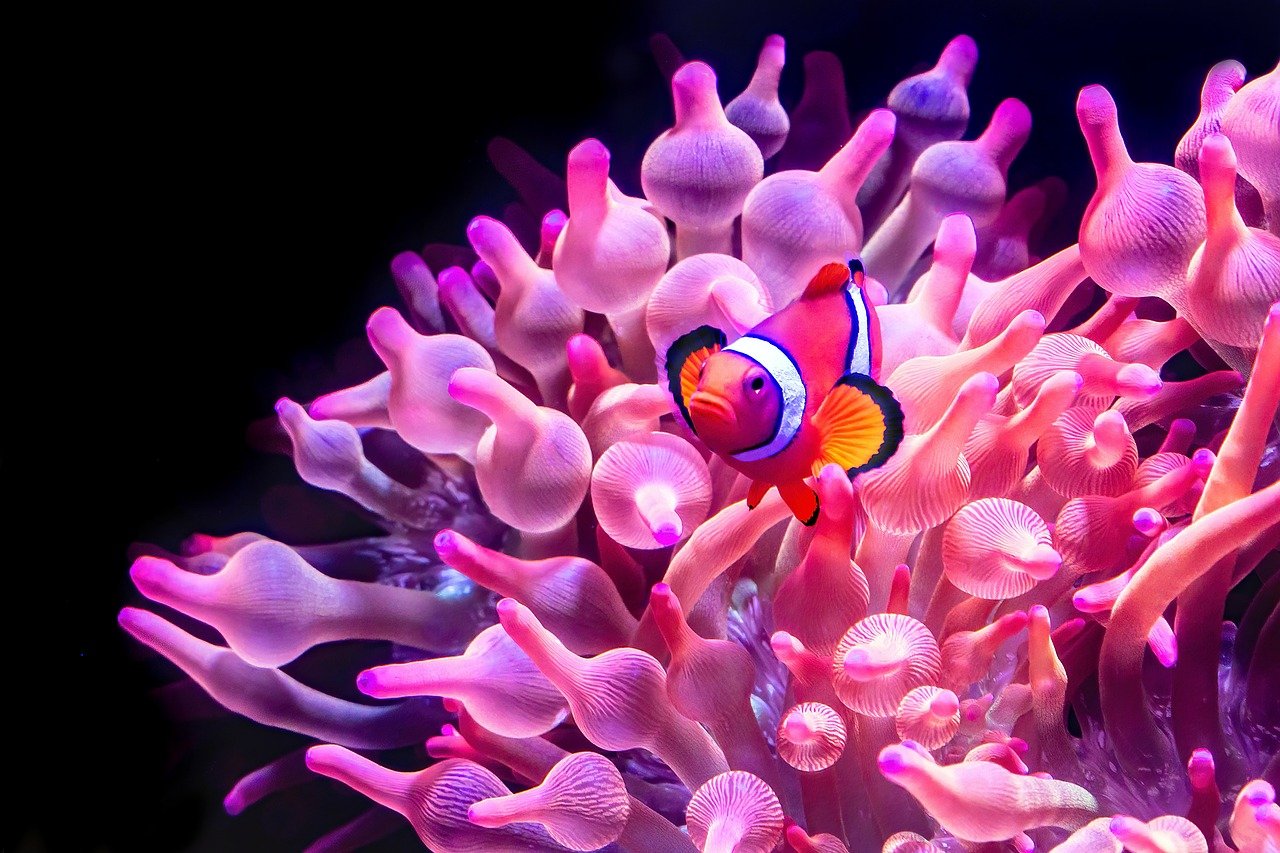
After 4-6 weeks, your carpeting plants should show lateral spreading and stem plants will need their first trim. Cut stems at mid-height and replant the tops for a bushier, denser look. This first major trim is a turning point — it signals that the tank is maturing. Once water parameters are stable, introduce your fish. Classic nature aquarium choices include cardinal tetras, harlequin rasboras, or a single species schooling fish that complements the layout without overwhelming it. Stock modestly: 1 cm of fish per 2 litres of water is a sensible guideline.


