


How to Create Depth in a Small Aquarium

Table of Contents
- Introduction
- Why Depth Matters in Small Tanks
- Core Principles of Creating Depth
- Substrate Slope and Layering Techniques
- Strategic Hardscape Placement
- Plant Selection for Depth Illusion
- Step-by-Step: Building Depth in a Nano Tank
- Colour and Light Tricks
- Common Mistakes to Avoid
- Frequently Asked Questions
- Conclusion
How to Create Depth in a Small Aquarium
One of the most rewarding challenges in aquascaping is learning how to create depth in a small aquarium. Whether you are working with a 20-litre nano cube on your office desk or a modest 60-centimetre tank in your HDB flat, the right techniques can make a compact layout look far larger than its actual dimensions. At Gensou Aquascaping in Singapore, we have spent more than 20 years helping hobbyists transform limited spaces into breathtaking underwater vistas — and much of that magic comes down to mastering the illusion of depth.
In this guide, we will walk you through every principle, technique, and plant choice you need to turn a small tank into a landscape that appears to stretch endlessly from front to back. These methods are tried and tested in our workshop at 5 Everton Park, where we regularly build nano scapes for clients across Singapore.
Why Depth Matters in Small Tanks
Depth perception is what separates a flat, uninteresting layout from one that draws the viewer’s eye inward and holds their attention. In larger aquariums — say, 120 centimetres or more — depth can be achieved simply through the volume of space available. Small tanks do not have that luxury. Every centimetre of front-to-back distance must be used deliberately.
When depth is executed well in a small aquarium, viewers experience a sense of scale that defies the physical boundaries of the glass. This is the hallmark of competition-level aquascapes, many of which use tanks no larger than 60 centimetres yet appear to contain entire mountain ranges or forest paths.
Benefits of a Depth-Focused Layout
- The aquarium appears significantly larger than its actual volume
- Fish and shrimp have more visual swimming space, creating a natural look
- The overall composition becomes more dynamic and photogenic
- Maintenance access is often easier when plants are properly tiered
Core Principles of Creating Depth
Before touching any substrate or stone, it helps to understand the visual principles that make depth illusions work. These are borrowed from traditional landscape painting and photography, and they apply perfectly to aquascaping.
1. Forced Perspective
Place larger objects in the foreground and progressively smaller objects toward the rear. The brain interprets this size gradient as distance. A large piece of driftwood at the front paired with a smaller branch at the back can make the tank appear twice as deep.
2. Converging Lines
Arrange hardscape and substrate contours so that lines appear to converge toward a single vanishing point. Paths, valleys between rocks, or substrate ridges that narrow toward the back create a powerful tunnel-like perspective.
3. Atmospheric Perspective
In nature, distant objects appear lighter and less detailed. In aquascaping, you can mimic this by placing fine-textured, lighter-coloured plants at the rear and bolder, darker elements at the front.
4. Vertical Elevation
Raising the substrate level at the back of the tank is one of the simplest yet most effective depth-building techniques. A steep rear slope makes the background feel further away.
| Principle | Technique in Aquascaping | Effect on Viewer |
|---|---|---|
| Forced Perspective | Large stones at front, small stones at rear | Objects at back appear more distant |
| Converging Lines | Substrate path narrowing toward the back | Creates a sense of receding space |
| Atmospheric Perspective | Fine-leaved, light-coloured plants at the rear | Background feels hazy and far away |
| Vertical Elevation | Substrate sloped high at the back | Eye travels upward and inward |
Substrate Slope and Layering Techniques
The foundation of any depth illusion begins with the substrate. In Singapore’s aquascaping community, the standard recommendation for small tanks is a front-to-back slope ratio of at least 1:3 — meaning if your foreground substrate is 3 centimetres deep, your background should reach approximately 9 centimetres or more.
Building a Stable Slope
A common problem with steep substrate slopes is collapse. Over time, aqua soil granules slide forward, flattening the carefully built gradient. To prevent this:
- Use lava rock or pumice as a base layer — this lightweight volcanic material provides structure without adding excessive weight. It is readily available at aquarium shops along Serangoon North.
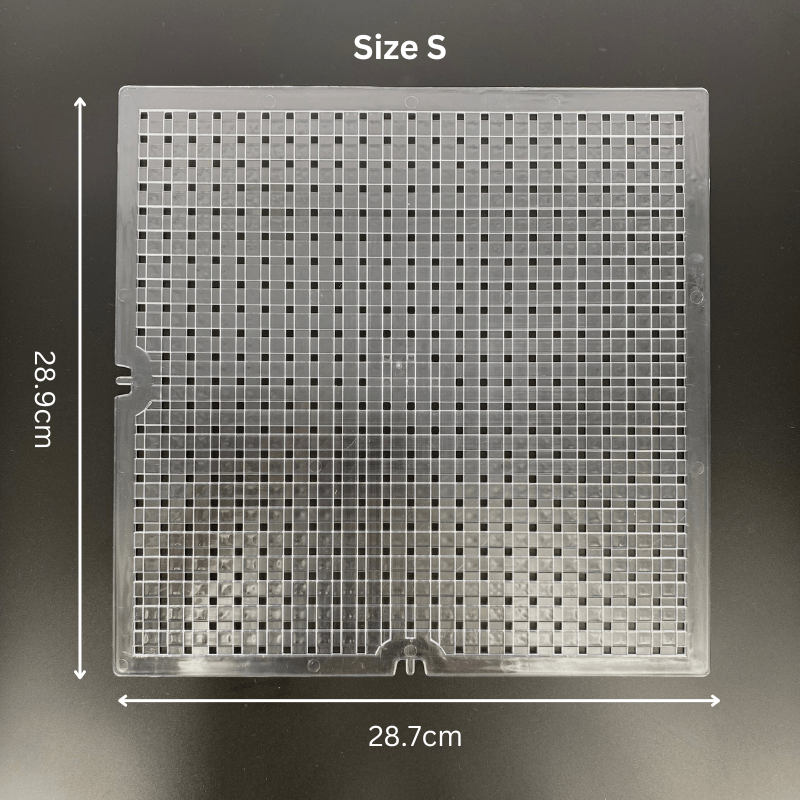
- Install plastic mesh dividers — thin plastic grids placed vertically at intervals hold substrate in place behind them.
- Anchor with hardscape — rocks and wood placed against the slope act as natural retaining walls.
- Terrace with flat stones — thin slate or Seiryu stone offcuts can create natural-looking terraces that hold soil at different elevations.
Substrate Colour Grading
Another subtle technique is to use slightly different substrate colours in the foreground and background. A lighter sand path in the foreground transitioning to darker aqua soil at the rear enhances the sense of separation between zones. Cosmetic sand in cream or white works particularly well for foreground paths in tanks under 45 centimetres.
Strategic Hardscape Placement
Rocks and driftwood are your most powerful tools for creating depth. How you position them determines whether the tank reads as a flat box or a sweeping landscape.
Rock Placement Tips
- Choose one main stone (the oyaishi in Iwagumi terminology) and place it in the lower third of the tank, slightly off-centre
- Place secondary stones progressively further back, each one smaller than the last
- Angle flat stones so they lean slightly toward the rear — this exaggerates the sense of receding terrain
- Leave a clear gap or path between stone groupings that narrows toward the back
Driftwood Strategies
Branching driftwood is ideal for small tanks because it adds verticality without consuming too much floor space. Position the thickest trunk section in the foreground and allow thinner branches to extend toward the rear and upward. Spider wood and horn wood are particularly effective — both are easy to source in Singapore and come in varied, natural-looking shapes.
Plant Selection for Depth Illusion
Choosing the right plants for each zone of your tank is critical. The goal is to create a gradient of leaf size, texture, and colour from front to back.
Foreground Plants (Bold, Low-Growing)
| Plant | Leaf Size | Growth Pattern | CO2 Required |
|---|---|---|---|
| Glossostigma elatinoides | Small | Carpeting | Yes |
| Eleocharis parvula (Dwarf Hairgrass) | Very fine | Carpeting | Recommended |
| Marsilea hirsuta | Small, clover-like | Carpeting | Optional |
| Hemianthus callitrichoides (HC Cuba) | Tiny | Dense carpet | Yes |
Midground Plants (Medium Texture)
- Cryptocoryne wendtii — available in green and brown varieties, excellent for filling the middle zone
- Staurogyne repens — compact and bushy, perfect for transitional areas
- Bucephalandra — slow-growing epiphyte that adds texture when attached to midground stones
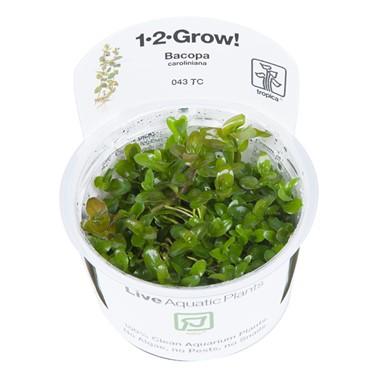
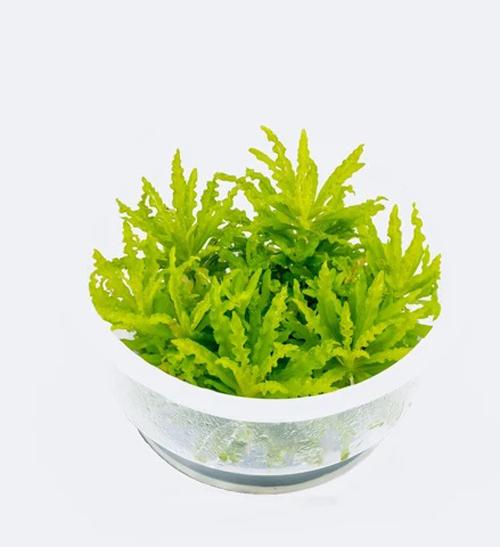
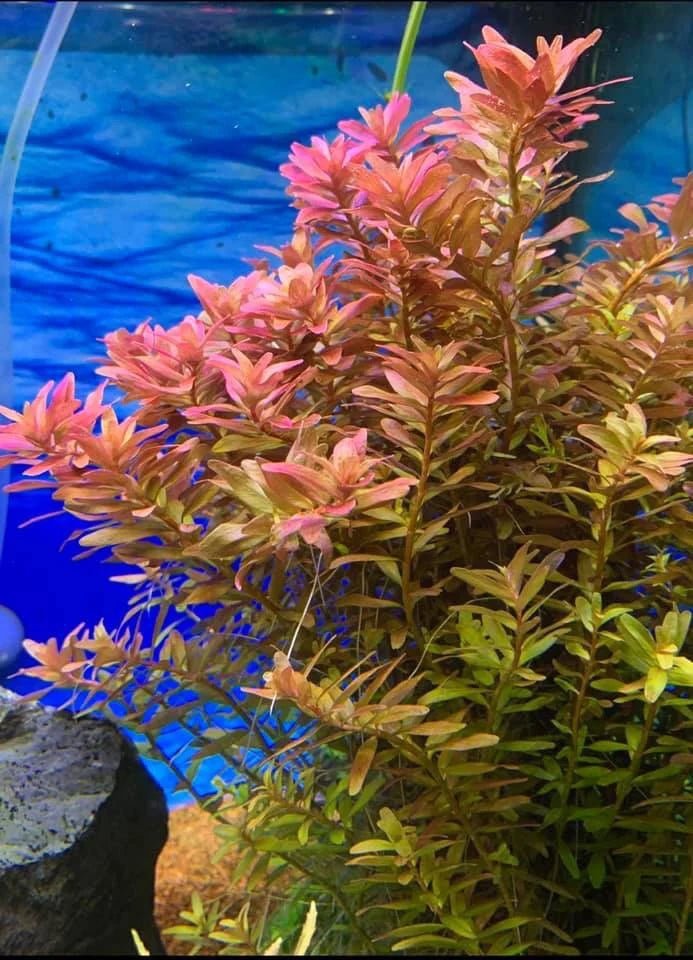
Background Plants (Fine-Leaved, Tall)
- Rotala rotundifolia — fine stems that create a soft, feathery curtain
- Micranthemum ‘Monte Carlo’ — when allowed to grow tall, its tiny leaves create a misty backdrop
- Hemianthus micranthemoides — baby-leaf texture ideal for atmospheric haze effect
The key rule is this: the smaller and finer the leaf, the further back it should go. This leaf-size gradient is one of the most effective ways to create depth in a small aquarium without any additional equipment or cost.
Step-by-Step: Building Depth in a Nano Tank
Let us walk through a practical example using a 30-centimetre cube tank — one of the most popular nano sizes in Singapore.
Step 1: Prepare the Base Layer
Add a 2-centimetre layer of lava rock rubble across the back two-thirds of the tank floor. This raises the rear without using excessive amounts of expensive aqua soil. Angle the rubble so it slopes from about 1 centimetre at the front to 5 centimetres at the rear.
Step 2: Install Substrate Retainers
Cut a strip of plastic mesh to the width of the tank and insert it vertically at the midpoint. This invisible barrier will prevent your rear substrate from sliding forward over time.
Step 3: Add Aqua Soil
Pour aqua soil over the lava rock base, building the slope to a final height of approximately 3 centimetres at the front glass and 10–12 centimetres at the rear. Smooth the surface with a flat tool or credit card.
Step 4: Place Primary Hardscape
Position your largest stone or driftwood piece in the lower-front third of the tank. Press it firmly into the substrate. Add a second, smaller piece behind and slightly above the first. If using a path layout, angle both pieces so the gap between them narrows toward the back.
Step 5: Add Secondary Hardscape
Place two or three smaller accent stones or wood pieces in the rear half. These should be noticeably smaller than the front pieces — this size reduction is what triggers the forced perspective illusion.
Step 6: Plant in Zones
Working from back to front, plant fine-leaved background stems first, then midground species, and finally your foreground carpet. Planting in this order prevents you from disturbing already-planted areas.
Step 7: Add Cosmetic Sand (Optional)
If your design includes a foreground path, carefully pour white or cream cosmetic sand into the designated area. Use a small spoon or funnel to control placement. The light-coloured path will draw the eye inward, reinforcing the depth effect.
Step 8: Fill and Fine-Tune
Fill the tank slowly using a colander or plastic bag to prevent disturbing the substrate. Once filled, step back and view the tank from the primary viewing angle. Adjust any hardscape that does not contribute to the converging-line or size-gradient effects.
Colour and Light Tricks
Lighting plays a surprisingly important role in depth perception. Here are techniques that complement your layout:
Shadow and Highlight
Position your light slightly toward the front of the tank rather than dead centre. This creates shadows behind hardscape elements, which adds visual layers and a sense of three-dimensionality. Many modern LED units popular in Singapore, such as the Chihiros and Twinstar ranges, allow you to adjust the mounting position easily.
Colour Temperature
Cooler (bluer) light at the back and warmer tones at the front can subtly mimic atmospheric perspective. Some advanced LED fixtures with multiple channels allow this kind of colour zoning.
Plant Colour Gradients
Place reddish or dark-green plants in the foreground and lighter, yellow-green species toward the rear. The contrast in colour saturation enhances the perception of distance. Rotala ‘H’Ra’ or Alternanthera reineckii in the foreground paired with pale-green Rotala rotundifolia in the background works beautifully.
Common Mistakes to Avoid
1. Flat Substrate
A level substrate is the single biggest depth killer. Even a modest slope makes a noticeable difference. Always build higher at the back.
2. Uniform Plant Size
Using plants of similar leaf size across all zones eliminates the size gradient that drives forced perspective. Be deliberate about selecting different textures for each layer.
3. Overcrowding the Midground
Stuffing too many plants or stones into the middle section collapses the visual layers. Leave breathing room — negative space is just as important as planted areas.
4. Ignoring the Viewing Angle
Most small tanks sit on desks or low shelves, meaning the primary viewing angle is slightly above and in front. Design your depth illusion for this specific angle, not from directly above or the side.
5. Using Oversized Hardscape
A rock that is too large for the tank dominates the composition and destroys any sense of scale. In a 30-centimetre cube, your largest stone should rarely exceed 10 centimetres in its longest dimension.
Frequently Asked Questions
Can I create depth in a tank without CO2 injection?
Absolutely. While CO2 gives you access to a wider range of carpeting plants, you can still achieve excellent depth using low-tech species like Marsilea hirsuta, Cryptocoryne parva for the foreground, and Vallisneria nana for the background. The principles of substrate slope, hardscape sizing, and converging lines work regardless of CO2 availability.
What is the minimum tank size for a depth-focused aquascape?
You can create convincing depth in tanks as small as 20 centimetres (approximately 5 litres). The techniques scale down effectively — you simply use smaller hardscape pieces and finer-textured plants. Many competition-winning nano scapes in Singapore and across Asia use tanks in the 20–30 centimetre range.
How do I prevent my substrate slope from collapsing?
Use a combination of lava rock base fill, plastic mesh retainers, and hardscape anchoring. Avoid disturbing the substrate during water changes by using a gentle siphon and refilling slowly. Over time, plant roots will also help bind the substrate in place.
Should I use a background image or paint for additional depth?
A frosted or light-blue background film can add a subtle sense of distance beyond the rear glass. However, a solid black background also works well, as it makes the rear plants appear to fade into shadow — mimicking atmospheric depth. Avoid busy photographic backgrounds, as they tend to clash with the aquascape and look artificial.
Related Reading
- How to Create Depth in a Small Aquascape: 7 Proven Tricks
- How to Create a Depth Illusion in a Small Aquascape
- How to Create Depth in a Small Aquascape: Forced Perspective
- How to Aquascape a Tall Tank: Vertical Depth and Proportion
- How to Create a Natural Stream Effect in Your Aquascape
Create Stunning Depth in Your Small Aquarium
Mastering how to create depth in a small aquarium transforms the entire hobby experience. With the right substrate slope, carefully graded hardscape, and a thoughtful plant palette, even the most compact tank can become a window into another world. These techniques require no special equipment — just patience, planning, and an understanding of visual perspective.
If you are ready to build a depth-focused aquascape but want expert guidance, visit us at Gensou Aquascaping, 5 Everton Park, Singapore. With over 20 years of experience, our team can help you select the perfect hardscape and plants for your tank size. Get in touch with us today, explore our online shop for curated aquascaping supplies, or learn about our custom aquarium design services.


