
How to Film Your Aquarium: Video Settings, Lighting and Editing Tips
A beautifully filmed aquarium video can mesmerise viewers in ways that photographs simply cannot, capturing the gentle sway of plants, the fluid motion of fish and the shimmer of light through water. This aquarium video filming guide from Gensou Aquascaping at 5 Everton Park, Singapore covers the practical techniques that separate amateur phone clips from polished content worth sharing. Whether you are documenting your tank’s progress, building a YouTube channel or simply sharing on social media, these tips will elevate your footage immediately.
Choosing Your Camera
Modern smartphones shoot excellent aquarium video. The iPhone 15 Pro and Samsung Galaxy S24 Ultra both offer 4K at 60 frames per second with manual exposure controls. For dedicated cameras, mirrorless bodies from Sony, Canon and Fujifilm deliver superior low-light performance and interchangeable lenses. A 50mm prime lens works beautifully for full-tank shots, while a macro lens captures intimate close-ups. Budget permitting, a camera with reliable autofocus tracking makes filming active fish significantly easier.
Video Settings for Aquariums
Shoot at 4K resolution for maximum detail and cropping flexibility in post-production. Frame rate matters: 24 fps gives a cinematic feel, 30 fps suits general content and 60 fps creates smooth slow-motion when interpreted at half speed. Set your shutter speed to double your frame rate, so 1/50 for 24 fps or 1/60 for 30 fps. This produces natural motion blur. Keep ISO as low as possible, ideally below 1600, to minimise noise. On phones, lock exposure and focus before recording to prevent mid-clip adjustments that look jarring.
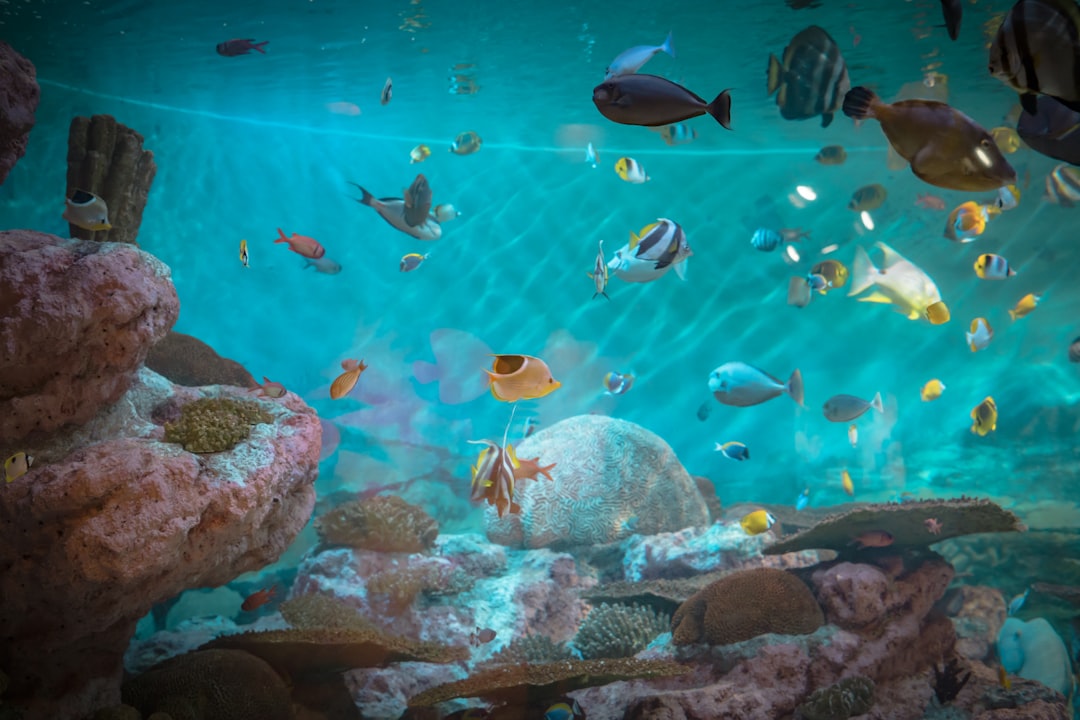
Lighting Considerations
Your aquarium light is the primary light source, so work with it rather than fighting it. Ramp up intensity slightly above normal viewing levels to give your camera more light to work with. Turn off all room lights and close blinds to eliminate reflections on the glass. If your tank uses RGB LEDs, experiment with colour channels. Warm white tones generally look more natural on camera than the cool blue settings many hobbyists prefer for viewing. Avoid mixing light temperatures, as a warm room light and a cool tank light create unpleasant colour shifts.
Stabilisation Techniques
Camera shake ruins aquarium footage faster than any other single factor. Use a tripod for static shots. A compact tabletop tripod works for tanks on stands, while a full-height tripod suits floor-level or eye-level filming. For handheld movement shots, enable your camera’s electronic or optical stabilisation. Slow, deliberate panning across the tank creates engaging motion. Move the camera at a constant speed and avoid starting or stopping abruptly. A smartphone gimbal, available locally for $80 to $200, transforms shaky phone footage into butter-smooth clips.
Composition and Shot Variety
Compelling aquarium videos mix several shot types. Start with a wide establishing shot showing the full tank. Cut to mid-range shots highlighting specific areas like a driftwood centrepiece or a carpet of Hemianthus callitrichoides. Close-ups of individual fish feeding or shrimp grazing add intimacy. Shoot more footage than you think you need. A five-minute polished video might draw from 30 minutes of raw clips. Vary your camera angle between eye level, slightly above and slightly below to keep the visual rhythm interesting.
Capturing Sound
Aquarium videos benefit from ambient water sounds, but filter hum and air pump noise can dominate your audio track. Record room tone separately and decide whether to use natural sound or replace it with music in post-production. If using your footage for YouTube, royalty-free music libraries like Epidemic Sound or Artlist provide professional backing tracks that avoid copyright strikes. Match the music tempo to your editing pace: slow, ambient tracks suit relaxed aquascape tours, while upbeat music works for feeding frenzy clips.
Editing Your Footage
DaVinci Resolve is free, powerful and handles 4K footage comfortably on most modern computers. CapCut works well for quick social media edits on your phone. During editing, correct white balance first to remove blue or yellow casts from aquarium lighting. Trim clips to their strongest moments and cut away anything that does not add visual interest. Add transitions sparingly. Simple cuts between shots look more professional than flashy wipes or dissolves. Export at the highest quality your platform supports: 4K for YouTube, 1080p for Instagram Reels or TikTok.
Sharing and Building an Audience
Post consistently rather than sporadically. Weekly or fortnightly uploads build audience expectation. Use descriptive titles and tags including species names, tank size and technique keywords. Engage with the local aquascaping community by tagging Singapore hobbyist groups and relevant hashtags. A time-lapse of plant growth or a before-and-after rescape video tends to attract strong engagement. Document your journey honestly, including setbacks and algae battles, as authenticity resonates more than perfection with fellow hobbyists.
Related Reading
- Active vs Inert Substrate: Which Is Right for Your Planted Tank?
- ADA Fertiliser System Guide: Brighty K, Green Brighty and Step Series
- Advanced Shrimp Selective Breeding: Line Breeding, Culling and Colour Fixing
- Alternanthera Reineckii Care Guide: Bold Red Without CO2
- Alternanthera Reineckii Mini Care Guide: Compact Red Carpet Plant


