
DIY Infusoria Culture Fry Food Guide: Lettuce Drop Method
Newly hatched fry of bettas, anabantoids, killifish, and many tetras have mouths so small that even microworms are too big for the first few days of life. Infusoria — a catch-all term for *Paramecium*, rotifers, and other 30-100 micron protozoans — is the only live food small enough for these critical first-week mouths. This diy infusoria culture fry guide from Gensou Aquascaping at 5 Everton Park walks through the lettuce-drop method that turns a sun-warmed jar of green water into a teeming nursery in seven days. The diy infusoria culture fry setup costs nothing beyond a kitchen jar, lettuce, and outdoor sunshine, and it bridges the gap between hatching and weaning onto larger live foods.
Materials and Tools
You need a clear 1-2L glass jar (a large mason jar works well) at SGD 0, two outer lettuce leaves (cabbage or romaine) at SGD 0.20, 1L of dechlorinated tank water (preferably from an established aquarium), an outdoor or sunny windowsill spot, and a fine pipette or turkey baster at SGD 4. Optional: a teaspoon of green water from an algae-rich tank or pond to seed faster. Total cost essentially zero beyond the jar.
Why Infusoria Matters for Tiny Fry
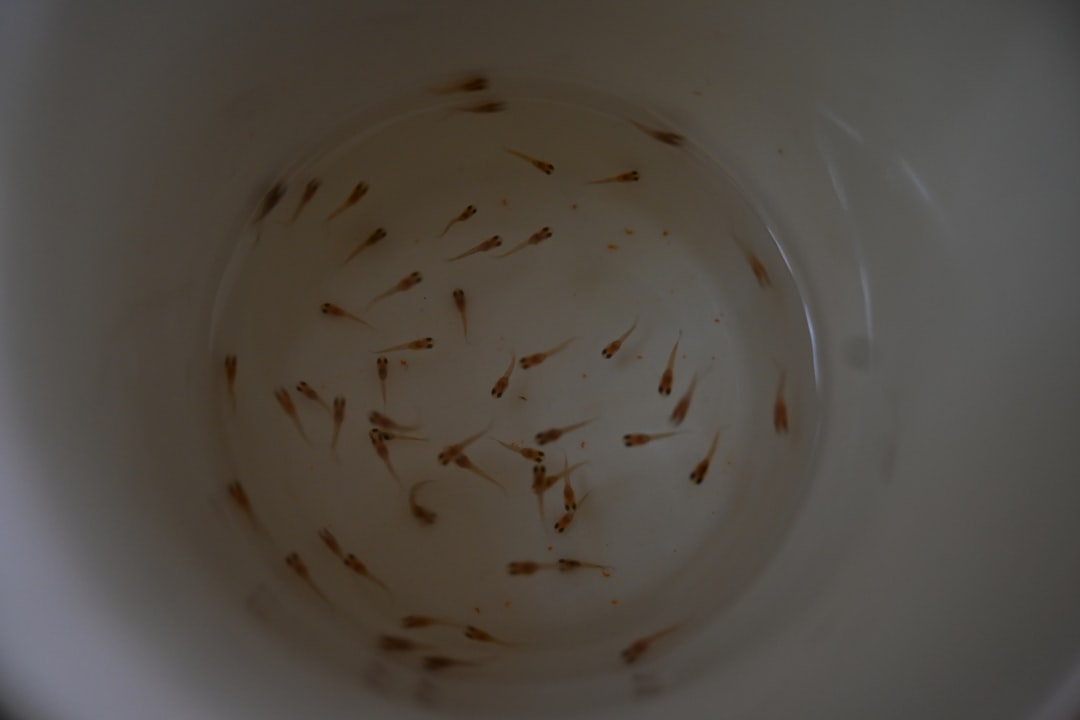
Newly free-swimming bettas measure 3-4mm with mouths near 60 microns wide. They cannot eat brine shrimp nauplii (400 microns), they often miss microworms (100 microns), and powdered dry foods foul the water faster than fry can find them. *Paramecium caudatum* at 200 microns and rotifers at 100-300 microns are the natural-prey size class. Without infusoria during days one to seven, mortality rates in spawn often exceed 80 per cent.
Step One: Prepare the Jar
Fill the jar three-quarters full with water from a mature aquarium — this water already carries trace bacteria, algae spores, and likely some baseline infusoria you can amplify. If pure tap water is all you have, use it conditioned, but expect culture to take three to four extra days. Drop in two outer lettuce leaves and crush them slightly with a spoon to bruise the cell walls.
Step Two: Site for Sunlight
Place the jar in a bright, warm location — outdoors on a balcony with morning sun is ideal in Singapore, alternatively a sunny indoor windowsill. Direct sunlight drives the algae bloom that feeds infusoria. The jar should warm to 28-32°C during the day. Cover loosely with cling film pierced with three or four holes to prevent insects without sealing entirely.
Step Three: Watch the Bloom Sequence
Days one to three: water turns yellow-brown as lettuce leaches. Days three to five: green algae bloom begins, water turning pea-soup green. Days five to seven: the green water clears slightly and a faint cloudiness appears — this is the explosion of *Paramecium* feeding on the algae. The faint smell is fine; a strong rotten odour means anaerobic decay, restart.
Step Four: Harvest With a Pipette
By day seven, draw 5-10ml of cloudy water with a pipette and add to fry tank. Hold the harvested water against a dark background — under a torch you should see thousands of tiny dots zipping randomly. That’s the *Paramecium*. Drip slowly into the fry tank twice daily; fry chase them visibly within seconds.
Step Five: Continuous Top-Up
Every three to four days, add a fresh half-leaf of lettuce and top up with 100ml of fresh aged tank water. The culture sustains for 4-6 weeks before you need to start fresh. Keep two jars staggered by a week so harvests overlap and you never run dry during a critical fry-feeding window.
Step Six: Bridging to Larger Foods
By day seven to ten of fry life, most species are large enough to graduate from infusoria to vinegar eels and microworms. Continue infusoria feeding alongside the larger foods for the transition week — no need to choose. By week three, fry usually accept newly-hatched brine shrimp from the aquarium fish food range and live cultures can wind down.
Common Failure Modes
A jar that turns black with a sulphur smell has gone anaerobic — too much lettuce, too little surface area. Restart with one leaf and a wider-mouth jar. A jar that stays brown without going green needs more sunlight. A jar full of mosquito larvae needs better fly-screen covering — though Aedes-aware Singapore keepers should fine-mesh-cover all outdoor cultures. Pair fry-tank work with API Stress Coat for slime-coat support.
Storage and Backup Cultures
Infusoria cultures cannot be refrigerated — chill kills the protozoans. Maintain backups by always running two parallel jars. If both crash, restart from green water from any old outdoor pond, koi tub, or established planted tank. Garden centres in Singapore selling water lettuce often carry trace infusoria in the pot water.
Singapore Climate Advantages
Year-round warm temperatures and consistent sun make infusoria culture trivially easy in Singapore compared to temperate countries where keepers struggle with seasonal sunlight. A balcony culture goes from setup to harvest in five to seven days here versus two to three weeks in cooler climates. Use this advantage for breeding projects.


