
DIY Shrimp Feeding Dish Clay Pot Guide: Terracotta Saucer Method
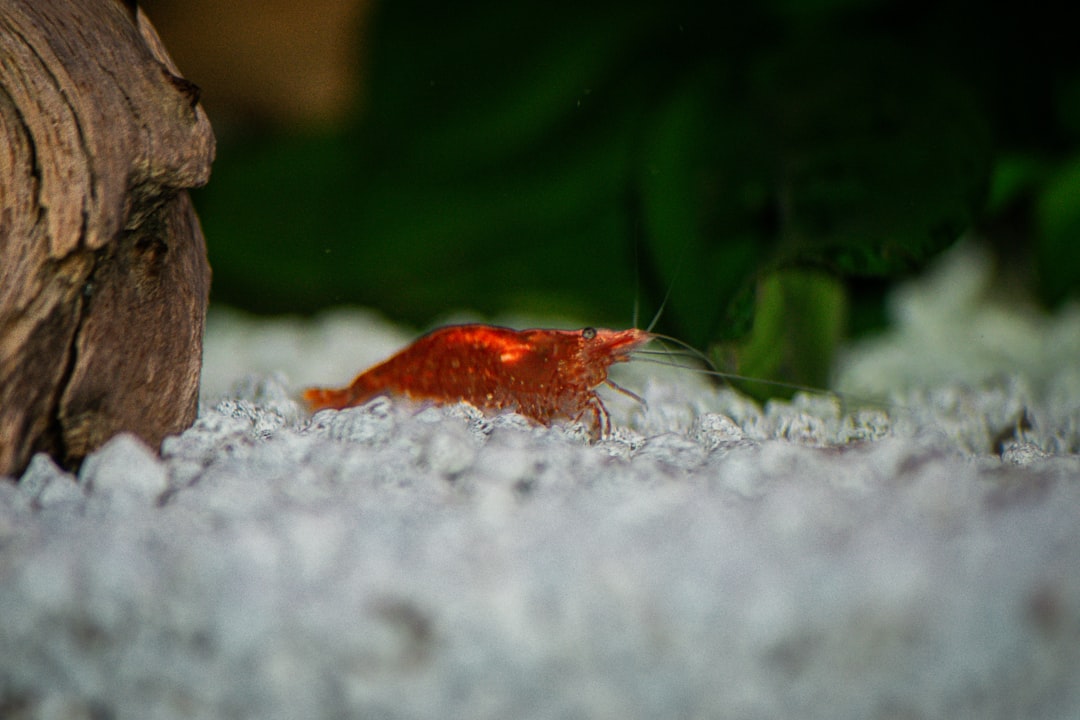
Crashed shrimp colonies sometimes trace back to a single underrated cause: leftover food rotting deep in fine substrate where it triggers ammonia spikes and bacterial blooms days after the original feeding. A small inverted terracotta saucer placed on the substrate creates a clean, raised feeding zone where food sits visibly, gets eaten promptly, and any leftover scrapes off easily during weekly maintenance. This diy shrimp feeding dish clay guide from Gensou Aquascaping at 5 Everton Park covers the SGD 2 build that protects Caridina and Neocaridina colonies from one of the most common silent killers. The diy shrimp feeding dish clay also makes spotting feeding behaviour and headcount easier — shrimp pile onto the dish within minutes.
Materials and Tools
You need a small unglazed terracotta plant saucer from Daiso or any plant nursery at SGD 2, 250ml of vinegar for soaking at SGD 1, and a stiff toothbrush. That’s it. Total cost SGD 2-3. Sizing: a 8-10cm diameter saucer suits a 30L tank, 12-15cm for 60L+, 18cm for 90L breeding tanks. Aim for a slight rim of 1-2cm to contain food but not so deep that shrimp struggle to climb in.
Why a Feeding Dish Beats Free-Drop Feeding
Caridina and Neocaridina shrimp are slow, methodical feeders that work food for hours. Drop a powder feed into a planted substrate and 30 per cent settles into substrate gaps inaccessible to shrimp but accessible to bacteria. The decomposition pulse over the next 24-48 hours spikes ammonia and depresses TDS — both deadly for shrimp. A raised dish keeps food visible, contains it within shrimp reach, and lets you remove uneaten portions before they decompose.
Step One: Soak and Sterilise
Soak the new terracotta saucer in a vinegar bath for 24 hours to leach manufacturing residues and any factory dust. Vinegar’s mild acid neutralises alkaline lime traces from kiln firing that can spike TDS in shrimp tanks. After soaking, scrub with a toothbrush and rinse in tap water multiple times until water runs clear.
Step Two: Boil to Finalise
Boil the saucer in tap water for 10 minutes. This kills any pathogens, drives off remaining vinegar, and ensures the porous clay is fully wetted (otherwise it floats unpredictably when first submerged). Allow to cool to room temperature before handling.
Step Three: Position in Tank
Place the saucer flat on the substrate at a viewing-friendly spot near the front glass. Avoid placing under high flow from the filter outflow — current scatters food off the dish before shrimp can secure it. A spot just off-centre with low flow but good visibility works best. Pair with maintained substrate from the decoration and substrate range.
Step Four: Use for Powdered and Pellet Feeds
Sprinkle powdered shrimp food (BorneoWild, Shrimp King, or similar) onto the dish surface. For pellets, place 1-3 pieces depending on colony size. The dish prevents pellets from rolling into substrate gaps and concentrates the foraging zone where shrimp converge within 5-10 minutes. Easy to count attendance and assess colony health visually.
Step Five: Monitor Feeding Time
Healthy shrimp clear a normal portion in 1-2 hours. If food remains after 3 hours, you’re overfeeding — reduce next portion. If food vanishes in 30 minutes, the colony might be hungry — slight increase warranted. Quality food choices live in the aquarium fish food range, including dedicated shrimp lines.
Step Six: Remove Uneaten Food
If any food remains after 4 hours, lift the entire dish out with long tweezers, rinse off uneaten food, and replace. This is the entire reason the dish exists — without it, removing leftovers from substrate is impossible. The cleaning pattern reduces tank ammonia loading by 40-60 per cent in shrimp-only setups.
Step Seven: Rotate Multiple Dishes
Larger tanks benefit from two or three dishes spaced across the substrate. Multiple feeding stations reduce dominance behaviour from larger shrimp and let the colony spread out. Rotate dish positions weekly to prevent biofilm dead zones from forming under any single spot.
Maintenance Routine
Lift dishes during weekly water changes. Wipe with a soft brush in tank water (never tap — chlorine kills bacterial film). Replace if cracked or stained beyond cleaning. Each dish lasts 1-2 years before fine cracks make it harbour anaerobic pockets. Pair with Seachem Prime for water-change conditioning.
Variations, Upgrades and Singapore Sourcing
For aesthetic builds, paint the dish underside (not the top) with aquarium-safe black paint to blend into dark substrate. For breeding setups, glue a small cluster of moss to the dish rim to give shrimplets cover near food. Avoid glazed ceramics — the glaze contains compounds that occasionally leach into soft shrimp water. Daiso at any major HDB town centre stocks the right size terracotta saucers in their gardening section at SGD 2 each, and Far East Flora and the various nurseries along Thomson Road carry larger sizes. Avoid the painted decorative ones — only unglazed natural terracotta is safe.
Related Reading
emilynakatani
Still Have Questions About Your Tank?
Drop by Gensou Aquascaping — most walk-in questions get answered in under 10 minutes by someone who has set up hundreds of tanks.
5 Everton Park #01-34B, Singapore 080005 · Open daily 11am – 8pm


