
DIY Shrimp Cave PVC Pipe Cluster Guide: Stack and Hide
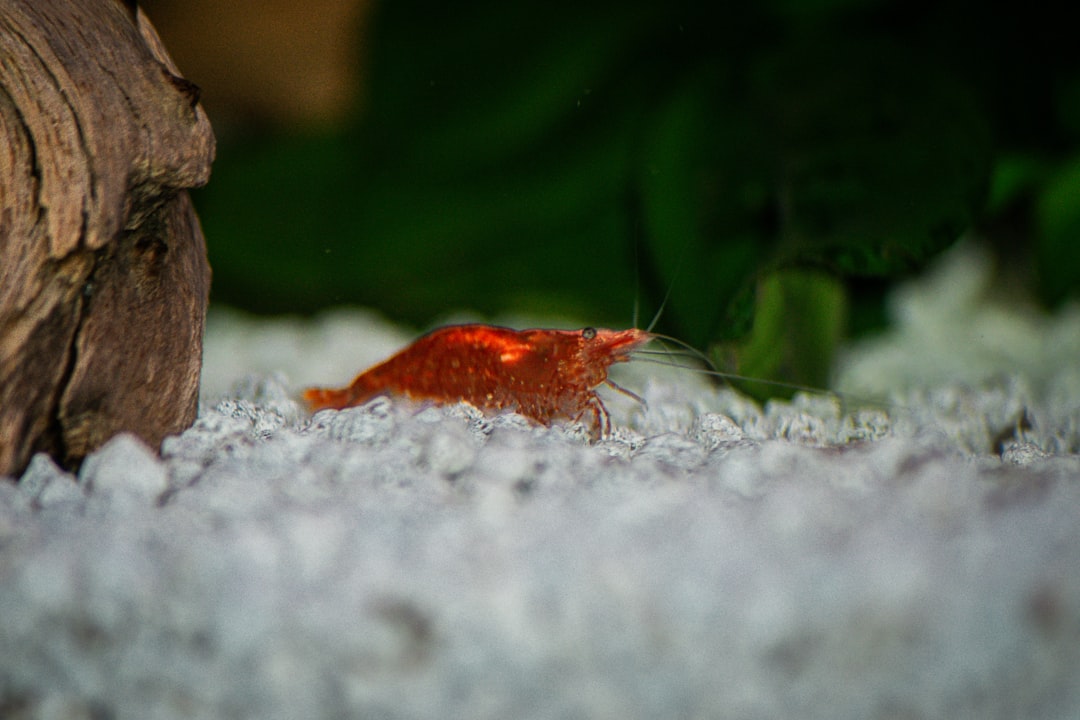
A shrimp tank without enough hides loses berried females to stress every moult, and stacked rock caves are too heavy for thin-bottomed nano tanks. A diy shrimp cave pvc cluster solves both problems — light, modular, and almost free if you have plumbing offcuts. DIY shrimp cave pvc builds also let you tune cave diameter to species, with 32mm pipe ideal for cherry shrimp and 40mm pipe sized for adult CRS or Sulawesi. This guide from Gensou Aquascaping at 5 Everton Park walks through cutting, sanding, gluing and disguising the white plastic so it blends into a planted scape.
Materials and Singapore Sourcing
One metre of 32mm or 40mm white PVC pipe from any Sungei Road hardware shop costs SGD 4-6, enough for 15-20 cave segments. You also need a fine-tooth hacksaw or PVC cutter, 240-grit and 400-grit sandpaper, food-grade aquarium silicone (SGD 12 a tube), and optionally aquasoil powder or sand for camouflage coating. Total spend rarely exceeds SGD 20 even with extras.
Why PVC Beats Commercial Shrimp Caves
Commercial shrimp tubes go for SGD 4-8 per piece in tiny diameters, and a proper cluster needs ten or more. PVC is identical material, sized perfectly for adult shrimp, and you can cut exact lengths to suit your scape geometry. The pipe is also rigid enough to stack three or four high without slumping the way clay tubes do when wet.
Step One: Cut to Length
Aim for 3-5cm segments, with a mix of lengths for visual interest. Mark with a marker around the pipe to keep cuts square. A PVC cutter gives the cleanest edge; a hacksaw works but leaves burrs. Cut 12-20 segments to start. Avoid going shorter than 3cm — anything smaller fails to give shrimp the dark interior they want.
Step Two: Sand Every Edge
Fresh-cut PVC has razor edges that catch shrimp legs and antennae. Sand both ends of each segment with 240-grit until the inner and outer rims are smooth, then finish with 400-grit. This step takes longer than the cutting but matters most for shrimp safety. Run a finger around each rim to test — if it grabs skin, keep sanding.
Step Three: Plan the Cluster Layout
Lay segments dry on a flat surface in the configuration you want. Most builders prefer a pyramid: five tubes on the base, three on the second tier, one or two on top. Mix orientations so some tubes face front, others sideways. This visual variety also gives shrimp escape routes from multiple directions, which matters in a tank with tankmates like otocinclus from the freshwater fish range.
Step Four: Glue with Aquarium Silicone
Apply a generous bead of food-grade aquarium silicone at every contact point and assemble the stack. Wipe excess silicone with a wet finger before it skins. Let the cluster cure on a flat surface for a full 7 days — Singapore humidity slows curing, and uncured silicone leaches acetic acid that crashes shrimp. Skip the silicone only if you want a modular cluster you can rearrange.
Step Five: Disguise the White Plastic
Bare white PVC reads aggressively in a planted scape. Coat the outer surfaces with a thin layer of aquarium silicone and immediately roll the stack in dry aquasoil powder or fine black sand. Press lightly to embed the grains. After cure, the cluster looks like dark stone instead of plumbing parts. Avoid coating the inner tube walls — shrimp graze biofilm off smooth surfaces more efficiently.
Step Six: Soak and Install
Soak the finished cluster in dechlorinated water for 48 hours and sniff for any vinegar smell — a sign of incomplete cure. Once clean, sit the cluster wherever you have low to moderate flow. Mid-tank works well. Layer moss or buce on the top surface from the aquatic plants section to soften the silhouette and give shrimp grazing surface.
Maintenance and Adding More
Biofilm builds inside the tubes within a fortnight, which is exactly what young shrimp need. Resist the urge to scrub the interior. Once a quarter, lift the cluster, swirl it gently in old tank water, and replace. The modular nature means you can keep cutting more segments and silicone-glue them on as your colony grows. Stock food and supplements from the freshwater fish food range close by for routine top-ups.
Related Reading
emilynakatani
Still Have Questions About Your Tank?
Drop by Gensou Aquascaping — most walk-in questions get answered in under 10 minutes by someone who has set up hundreds of tanks.
5 Everton Park #01-34B, Singapore 080005 · Open daily 11am – 8pm


