
How to Drip Acclimate Fish and Shrimp Properly
This drip acclimate fish shrimp guide provides a reliable, step-by-step method for introducing new livestock to your aquarium without the shock that causes stress, disease or death. Acclimation is one of the most important yet frequently rushed steps in fishkeeping. At Gensou Aquascaping at 5 Everton Park, we always advise customers to drip acclimate — especially when bringing home sensitive species or when the shop’s water parameters differ significantly from their home tank.
Why Acclimation Matters
Fish and shrimp are poikilothermic — their body temperature matches their environment. They also regulate internal chemistry based on the water around them. Sudden changes in pH, temperature, GH, KH or TDS force their bodies to adjust rapidly, which causes physiological stress. In mild cases, this leads to clamped fins, loss of colour or reduced appetite. In severe cases, it triggers osmotic shock, organ failure or death.
Drip acclimation gradually exposes new livestock to your tank water, allowing their bodies to adjust incrementally. This is especially critical for shrimp, which are far more sensitive to water parameter shifts than most fish.
Equipment You Need
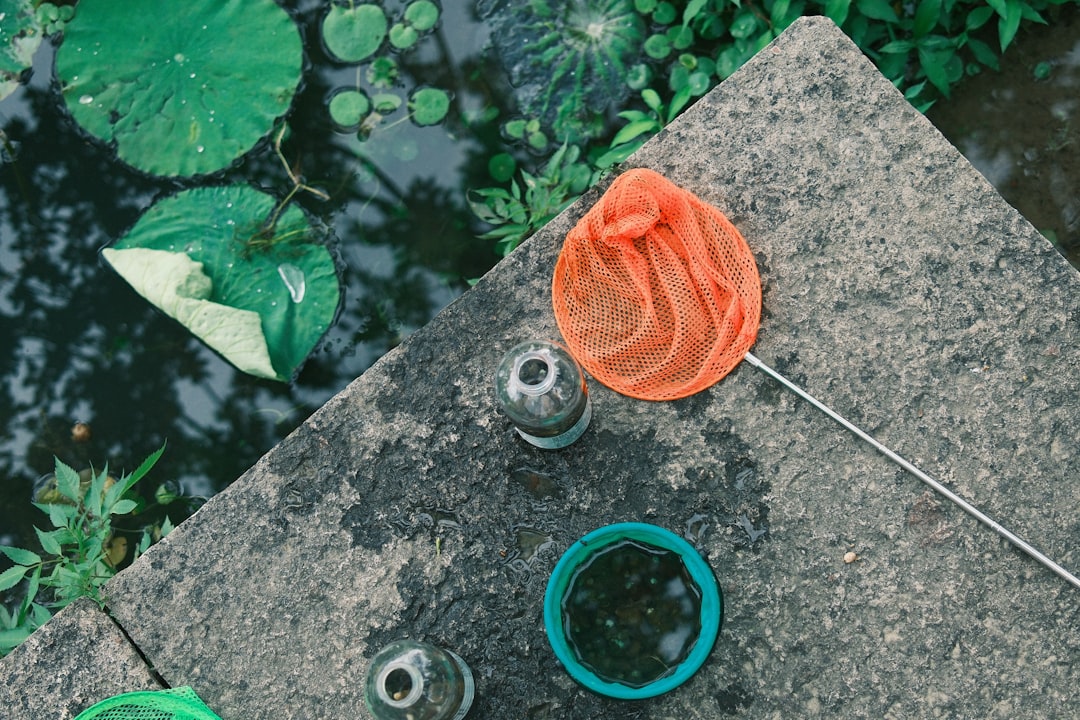
The drip acclimation setup is simple and inexpensive. You need a clean bucket or container, a length of airline tubing approximately one to two metres long, and a small control valve or a loose knot tied in the tubing to regulate flow. An optional airline suction cup helps secure the tube to the inside of the tank.
Some hobbyists use purpose-built acclimation containers with built-in drip valves, but a basic bucket and airline tube work just as well. Ensure the bucket is free of soap residue or chemical contaminants — a dedicated fishkeeping bucket is ideal.
Step-by-Step Drip Acclimation Process
Begin by floating the sealed transport bag in your aquarium for 15 to 20 minutes. This equalises the temperature without mixing the water. Once the temperatures match, open the bag and carefully pour the fish or shrimp along with the transport water into your clean bucket.
Next, place one end of the airline tubing into your aquarium and start a siphon by gently sucking on the free end. Once water flows, immediately adjust the control valve or tighten the knot to achieve a drip rate of two to four drops per second. Direct the dripping end into the bucket.
Allow the tank water to drip into the bucket until the volume has roughly doubled. For most fish, this takes 30 to 45 minutes. For shrimp, extend the process to 60 to 90 minutes — their sensitivity demands a slower transition. If the bucket fills too quickly, discard some of the mixed water and continue dripping.
Transferring Livestock to the Tank
Once acclimation is complete, use a soft mesh net to transfer the fish or shrimp from the bucket into your aquarium. Avoid pouring the bucket water into the tank, as it contains concentrated waste from the transport bag and may introduce pathogens or unwanted compounds.
For shrimp, a wide, shallow net minimises stress and prevents accidental injury. Handle the net gently and lower it into the tank water so the shrimp can swim out on their own rather than being tipped out.
Special Considerations for Shrimp
Shrimp are significantly more sensitive to parameter changes than fish. Even a modest pH or TDS swing can trigger failed moults or death within days. When drip acclimating shrimp, err on the side of a slower drip rate — one to two drops per second is preferable — and extend the total duration to at least 90 minutes.
If the water parameters at the shop differ substantially from yours — for instance, if the shop uses tap water and you maintain a remineralised RO setup — consider extending acclimation to two hours. The slower the transition, the lower the risk.
Temperature Matching in Singapore
In Singapore, shop tanks and home tanks may differ in temperature by several degrees, especially if you use a chiller or cooling fan at home. The initial float step is particularly important in this context. Allow the sealed bag to float for a full 20 minutes to ensure the temperature inside matches your tank.
During hot weather, transport livestock home as quickly as possible. Prolonged time in a sealed bag in Singapore’s heat leads to rapid ammonia build-up and oxygen depletion. If the journey takes more than 30 minutes, ask the shop to add extra oxygen to the bag.
Common Mistakes to Avoid
The most frequent mistake is skipping acclimation entirely — simply netting fish from the bag and dropping them into the tank. This subjects livestock to an immediate parameter shock that may not show symptoms for days, making it difficult to connect the cause to the outcome.
Another error is acclimating for too long in a small volume of transport water. The ammonia excreted by fish in a sealed bag accumulates rapidly. If acclimation will take more than an hour, discard half the transport water early in the process and replace it with dripped tank water to keep ammonia levels manageable.
Avoid feeding new arrivals for the first 24 hours. Their digestive systems are under stress from transport, and uneaten food in the tank only adds to the organic load.
Building Good Habits
Drip acclimation takes a small investment of time but pays enormous dividends in livestock survival and long-term health. Make it a non-negotiable part of your routine whenever you add new fish or shrimp. For acclimation supplies, healthy livestock and personalised advice, visit Gensou Aquascaping — we are always happy to walk you through the process in person.


