
Aquarium Photography Guide: How to Take Stunning Tank Photos
Aquarium Photography Guide: How to Take Stunning Tank Photos
You have spent weeks building, planting, and nurturing your aquascape. The plants are thriving, the fish are vibrant, the layout looks incredible in person. Then you take a photo and it looks like a murky, blurry, reflection-filled mess. Aquarium photography is genuinely challenging — you are shooting through glass, dealing with mixed lighting, capturing fast-moving subjects, and fighting reflections at every angle.
The good news is that a few simple techniques dramatically improve results, whether you are shooting with a professional camera or your smartphone. This guide covers everything you need to produce photos that do justice to your underwater creation.
Preparation: Before You Shoot
The best aquarium photos start before you pick up the camera:
Clean the Glass
This is non-negotiable. Even small smudges, water spots, and algae patches on the front glass show up dramatically in photos. Clean the inside with an algae scraper and the outside with glass cleaner and a microfibre cloth. Do this at least an hour before shooting so any disturbed debris has time to settle.
Time Your Water Changes
Shoot one to two days after a water change, when the water is crystal clear but any cloudiness from the change has cleared. Freshly changed water can have micro-bubbles and slight haze that are invisible to the eye but noticeable in photos.
Trim and Tidy
Remove dead leaves, trim any overgrown stems, and clear debris from the substrate. Reposition any displaced hardscape. In photos, small imperfections that your eye forgives in person become prominent.
Control the Room
Turn off all lights in the room. Every light source that is not your tank light — ceiling lights, desk lamps, windows — creates reflections on the glass. Draw curtains or blinds. The only light should come from within the aquarium itself.
Dealing with Reflections
Reflections are the single biggest frustration in aquarium photography. Here is how to eliminate them:
- Darken the room completely. This alone eliminates 90% of reflections. If you cannot make the room fully dark, wait until evening.
- Wear dark clothing. Your shirt, face, and hands reflect in the glass. A black shirt is genuinely helpful.
- Angle the camera slightly. Shooting at a very slight angle (5–10 degrees off perpendicular) can eliminate persistent reflections without noticeably distorting the image.
- Use a rubber lens hood. For DSLR or mirrorless cameras, press a rubber lens hood flat against the glass. This creates a seal that blocks all reflections around the lens. This is the single most effective technique for camera users.
- Use a polarising filter. A circular polariser (CPL) on your camera lens reduces glare and reflections. Rotate it until reflections diminish. Note that polarisers reduce light by one to two stops, so you may need to compensate with a slower shutter speed or higher ISO.
- Black background. A dark or black background behind the tank prevents light from bouncing off the back wall and reflecting forward through the water.
Camera Settings
If you are using a DSLR or mirrorless camera, these settings give you the best starting point:
ISO
Keep ISO as low as possible — 100 to 800 for full-frame cameras, 100 to 1600 for crop sensors. Higher ISO introduces noise (grain) that degrades image quality, especially in the dark areas of an aquarium photo. Modern cameras handle higher ISO better, but lower is always cleaner.
Shutter Speed
For static full-tank shots of the aquascape without fish movement, use 1/60s or slower (with a tripod). For fish portraits where you need to freeze movement, use 1/250s or faster. Active fish like tetras and rasboras may need 1/500s. Increase ISO or open the aperture to compensate for faster shutter speeds.
Aperture
For full-tank shots, use f/5.6 to f/8 for a balance of depth of field and sharpness. For fish portraits where you want a blurred background, open to f/2.8 to f/4. Avoid very small apertures (f/16+) as diffraction softens the image, and the reduced light makes exposure difficult.
White Balance
Aquarium lights have specific colour temperatures that auto white balance often interprets poorly, producing overly warm (orange) or cool (blue) images. Set white balance manually to match your light — typically 6500K to 7000K for most planted tank LEDs. Alternatively, shoot in RAW format and adjust white balance during editing.
Recommended Starting Settings
| Shot Type | ISO | Shutter Speed | Aperture |
|---|---|---|---|
| Full tank (tripod) | 100–400 | 1/30s–1/60s | f/5.6–f/8 |
| Fish portrait (handheld) | 400–1600 | 1/250s–1/500s | f/2.8–f/4 |
| Macro (plant detail) | 200–800 | 1/125s+ | f/4–f/8 |
Smartphone Tips
You do not need a professional camera to take great aquarium photos. Modern smartphones have capable cameras — you just need to work within their limitations:
- Lock focus and exposure. Tap and hold on your subject to lock focus. Many phones let you then slide to adjust exposure brightness.
- Use Pro/Manual mode if your phone offers it. Set ISO low (50–200) and let the phone choose the shutter speed, or fix the shutter speed and let it adjust ISO.
- Press the phone against the glass. This stabilises the shot and blocks reflections around the lens, similar to using a rubber hood on a camera lens. A dark phone case helps.
- Use the main (wide) lens. Avoid the ultra-wide or telephoto lenses for aquarium shots — the main lens has the best image quality and largest sensor.
- Avoid digital zoom. Move the phone closer rather than zooming in. Digital zoom degrades quality significantly.
- Shoot in the highest resolution available. You can always crop later, but you cannot recover detail that was not captured.
Composition Techniques
Rule of Thirds
Enable the grid overlay on your camera or phone. Place the main focal point of your aquascape (the largest stone, the main driftwood feature, a key fish) at one of the four intersections where grid lines cross. This creates a more dynamic, visually engaging image than centring the subject.
Leading Lines
Use the natural lines in your aquascape — driftwood branches, substrate paths, rows of plants — to guide the viewer’s eye into the image. Lines that lead from a corner toward the focal point are particularly effective.
Frame the Full Tank
For full-tank shots, position the camera so the aquascape fills the frame with minimal visible rim, cabinet, or wall. The viewer should feel like they are looking through a window into an underwater world, not at a glass box on a shelf.
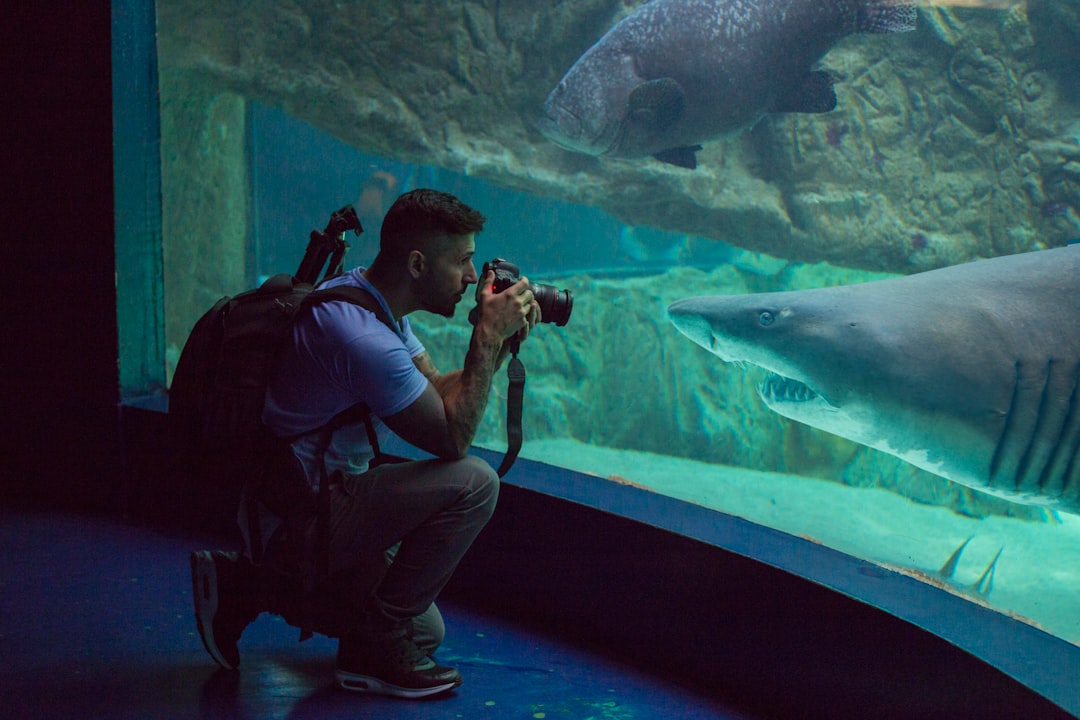
Get Low
Shoot at tank mid-height or slightly below. Most people photograph aquariums from standing height, which creates an unflattering downward angle. Kneeling or crouching to shoot straight into the tank produces a far more immersive perspective.
Focusing on Fish
Fish are moving targets behind glass, which makes autofocus struggle. These tips help:
- Focus on the eye. In any portrait — human or fish — the eye should be in sharp focus. If the eye is sharp but the tail is slightly soft, the image reads as intentional. If the eye is soft, the entire image looks out of focus.
- Use continuous autofocus (AF-C or servo mode) on cameras. This tracks the fish as it moves, keeping focus locked on the subject.
- Pre-focus on a spot and wait. If your fish has a favourite area — a feeding spot, a resting perch — focus on that spot and wait for the fish to swim into the focal plane. This is often more successful than chasing the fish with autofocus.
- Take many shots. Fish photography is a numbers game. Take 50 shots and expect 5 keepers. Burst mode on cameras and phones captures rapid sequences, increasing your chances of catching the perfect moment.
- Manual focus gives you the most control but requires practice. Switch to manual when autofocus hunts (focuses back and forth) on reflective scales or through the glass.
Editing Basics
Even the best raw photos benefit from basic editing. Free tools like Snapseed (mobile) or Lightroom (desktop and mobile) are more than sufficient:
- White balance: Correct any colour cast. Greens should look naturally green, not yellow-green or blue-green. Adjust temperature and tint until the colours match what you see in person.
- Crop: Remove distracting edges, equipment, and empty space. Tighten the frame around the aquascape or fish.
- Contrast and clarity: A slight increase in contrast and clarity/structure makes aquascape details pop. Do not overdo it — heavy editing looks artificial.
- Noise reduction: If you shot at high ISO, apply gentle noise reduction to smooth grain, especially in dark areas.
- Straighten: Ensure the water line and tank edges are perfectly horizontal. A slightly tilted aquarium photo is immediately noticeable and distracting.
Video and Social Media
Video Settings
Shoot at 4K if your device supports it, even if you plan to share at 1080p — the extra resolution allows cropping. Use 24 or 30 frames per second for a cinematic look. Slow-motion (60fps or 120fps) creates beautiful footage of flowing plants and swimming fish.
Social Media Aspect Ratios
| Platform | Ideal Ratio | Notes |
|---|---|---|
| Instagram Feed | 1:1 or 4:5 | Square or portrait for maximum feed presence |
| Instagram Stories/Reels | 9:16 | Vertical — challenging for aquariums, use close-ups |
| YouTube | 16:9 | Standard widescreen, natural fit for tank shots |
| TikTok | 9:16 | Vertical — close-ups and fish portraits work best |
| 16:9 or 1:1 | Flexible, widescreen or square both perform well |
For vertical platforms (Stories, Reels, TikTok), full-tank landscape shots do not work well. Instead, shoot close-up vertical videos of fish behaviour, plant details, or feeding time. These perform better on vertical platforms and showcase your tank’s details.
Frequently Asked Questions
Should I use flash for aquarium photography?
Generally no. On-camera flash creates harsh reflections on the glass and washes out colours. However, off-camera flash positioned above or to the side of the tank (outside the glass) can produce dramatic lighting for fish portraits. If you must use flash, bounce it off the ceiling or use a diffuser. For most hobbyists, the tank’s own lighting produces better results than any flash.
Why do my photos look yellow or green compared to real life?
This is a white balance issue. Your camera’s auto white balance interprets the aquarium LED’s colour spectrum differently from your eyes. Shoot in RAW format and adjust white balance in editing, or set a custom white balance before shooting. Compare the edited photo to the tank in person and adjust until the colours match.
What lens is best for aquarium photography?
A 50mm prime lens (or equivalent on crop sensor) is ideal for full-tank shots from a comfortable distance. For fish portraits and macro details, a 90–105mm macro lens excels. Zoom lenses in the 24–70mm range offer versatility. Avoid ultra-wide lenses that distort the tank edges.
How do I photograph a tank with a curved front glass?
Curved glass distorts images, especially at the edges. Shoot through the centre of the curve where distortion is minimal. Use a narrow aperture (f/8+) to increase depth of field and reduce the effect of the curve. Full-tank shots through curved glass are challenging — close-up and detail shots usually produce better results.
Share Your Aquascaping Journey
Great photos let you share your aquascaping achievements with fellow hobbyists, document your tank’s evolution, and even enter aquascaping competitions. Practice these techniques and your photos will steadily improve with each session.
Want a tank that is as photogenic as it is beautiful in person? Our team at Gensou Aquascaping designs custom aquariums with aesthetics in mind — from lighting placement to background choices. Visit us at 5 Everton Park, or get in touch to discuss your dream aquascape.
Related Reading
emilynakatani
Still Have Questions About Your Tank?
Drop by Gensou Aquascaping — most walk-in questions get answered in under 10 minutes by someone who has set up hundreds of tanks.
5 Everton Park #01-34B, Singapore 080005 · Open daily 11am – 8pm


