
DIY Breeding Box Aquarium Mesh Guide: Plastic Mesh and Float
A floating breeding box for guppy fry or shrimp berry isolation costs SGD 25-45 retail in Singapore — the Marina, Ziss and ISTA branded models all sit in that bracket. Yet the entire concept is plastic mesh, a few suction cups, and a foam strip. DIY breeding box aquarium builds clock in under SGD 5 in materials from Daiso and produce a tougher, more configurable enclosure than the moulded retail boxes. This guide from Gensou Aquascaping at 5 Everton Park covers the cut pattern, the float configuration, and how to size the mesh aperture for different species.
Materials and Tools
One sheet of plastic canvas mesh — the Daiso craft aisle stocks 27x27cm sheets in 2mm grid for SGD 2 each, ideal for fry retention. One sheet of egg crate light diffuser (SGD 4 from Sim Lim ceiling-light retailers) for the divider panel and base support. Four small suction cups with hook fittings (SGD 2 at Daiso). One 1cm foam strip (closed-cell, SGD 2 at any sports shop). Cable ties and a soldering iron or hot wire for stitching mesh sheets together. Browse complementary nets and tweezers in the aquascaping tools range. Total under SGD 6.
Why This DIY Saves Money
Marina branded floating breeders run SGD 28 for the small size and SGD 45 for the large dual-chamber model. The DIY equivalent at SGD 6 saves SGD 22-39 per unit. For breeders running multiple species or cycling several females through isolation, the savings compound — five DIY boxes for the cost of one retail unit, and you can configure each one for the specific size of fry or eggs.
Step 1: Cut the Mesh Panels
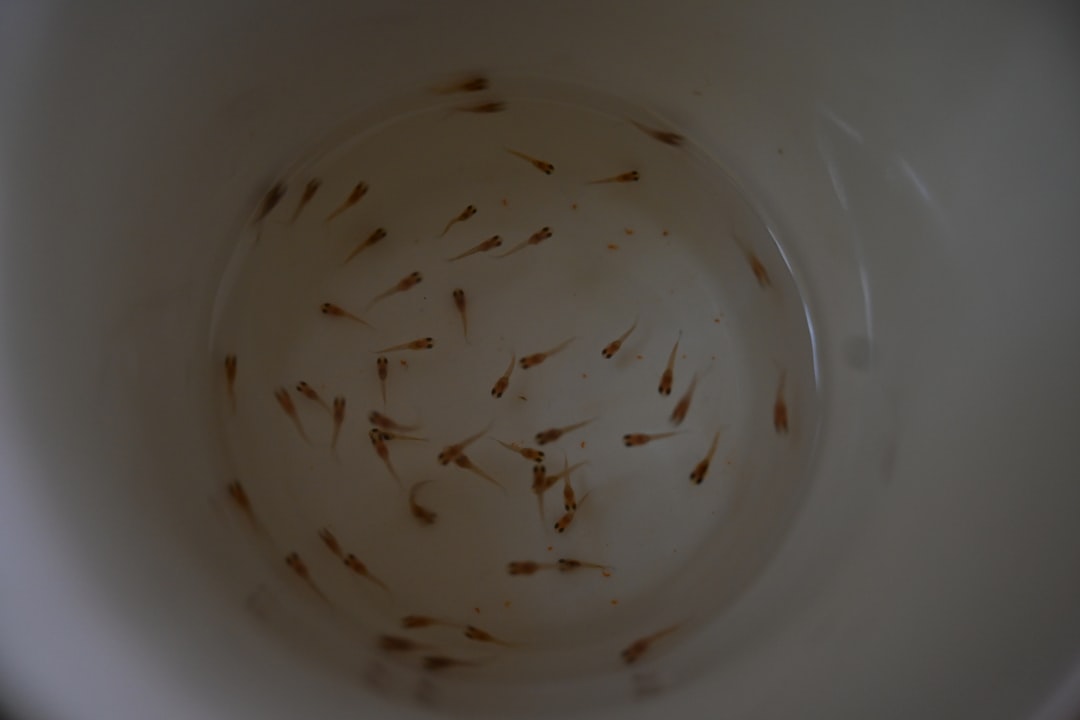
Cut six panels for a rectangular box — two long sides at 20x12cm, two short sides at 10x12cm, one base at 20x10cm, and an optional divider at 10x12cm. Use sharp scissors and aim for clean grid lines. Plan the mesh aperture for your target species — 2mm grid contains guppy fry past day three, 4mm passes shrimplets through to a separate compartment, 1mm holds endler fry from day one.
Step 2: Stitch the Box Together
Hold two panels at right angles and lash them with cable ties at the corners every 2cm. Trim cable tie tails flush with side cutters. Work systematically — base first, then long sides, then short sides. The cable ties give some flex which helps the box absorb knocks without cracking. A soldering iron at 250°C welds mesh joins permanently for a more polished finish, but cable ties are simpler.
Step 3: Fit the Egg Crate Base Support
Cut a piece of egg crate to 20x10cm — the same dimensions as the mesh base. Drop it inside the box on the floor. The grid voids let water and waste pass through to the main tank while supporting the mesh against sagging when fry are added. The egg crate also gives substrate-like footing that fry feel comfortable resting on.
Step 4: Mount the Suction Cups
Thread the suction cup hooks through the upper rim of the mesh box at the four corners. Position the box so it can hang against the tank wall with the suction cups pressing on the inside glass. The four-point mount keeps the box stable when fish brush against it. Test attachment with the box dry — once wet the cups grip more firmly.
Step 5: Add the Foam Float Strip
Cut a 1cm-wide strip of closed-cell foam to the perimeter length of the box top. Glue the strip to the upper rim with a touch of GE Silicone I, working in 5cm sections so the silicone does not skin over before placement. The foam keeps the box buoyant if you prefer a floating configuration over wall-mounted, and it stops the rim sinking below the waterline.
Step 6: Add Optional Divider
Slide the divider panel into place midway along the long axis if you want two compartments — useful for separating gravid females or sorting fry by size. Friction-fit between the long walls; no fixing needed since the egg crate base supports it from below. Remove the divider easily for cleaning.
Sealing and Curing
The silicone bond on the foam float requires forty-eight hours to cure fully before water contact, although the rest of the build uses no silicone and is ready immediately. Rinse the assembled box in dechlorinated water for ten minutes to flush any plastic residue from the mesh manufacturing — Daiso craft mesh is generally inert but a quick rinse is good practice.
Aquasafe Test Before Use
Float the empty box in a 5-litre bucket of dechlorinated water with two ghost shrimp for forty-eight hours. Healthy shrimp confirms the assembly is aquarium-safe. Smell the box after the soak — any plastic odour means the mesh is a low-grade import; replace with a different supplier. White vinegar test the suction cups separately by soaking in vinegar overnight; quality silicone cups are unaffected, cheap rubber ones discolour and should be discarded.
Maintenance, Lifespan and Pitfalls
A DIY breeding box lasts two to three years before plastic mesh fatigue causes cracking at cable tie points. Replace cracked panels individually rather than the entire box. Algae buildup on the mesh is normal — lift the box monthly and scrub with an old toothbrush. Pair with quality fry food and infusoria culture from the fish food range for healthy fry survival rates above 80 per cent.
Common pitfalls — mesh apertures that are too large lose fry through the gaps within hours, so always size down rather than up. Skipping the egg crate base lets fry get caught in the mesh weave. Undersized boxes below 2 litres of internal volume stress mother fish into reabsorbing pregnancies, so size for the species and let the female swim freely.
Related Reading
emilynakatani
Still Have Questions About Your Tank?
Drop by Gensou Aquascaping — most walk-in questions get answered in under 10 minutes by someone who has set up hundreds of tanks.
5 Everton Park #01-34B, Singapore 080005 · Open daily 11am – 8pm


