
How to Plan an Aquarium Into a New Home Build
Building a new home is the perfect opportunity to integrate an aquarium seamlessly into your living space rather than retrofitting one awkwardly into an existing room. A proper plan aquarium new home build guide ensures the structural support, plumbing, and electrical provisions are all in place before the walls go up. Gensou Aquascaping at 5 Everton Park, Singapore, has consulted on several landed property and condominium builds where aquariums were designed into the architecture from day one. The results are stunning, but only when planning starts early enough.
Engage Your Aquarium Designer Early
Bring your aquarium specialist into discussions during the schematic design phase, ideally before structural drawings are finalised. Once floor slabs are poured and walls are built, adding reinforcement becomes expensive and disruptive. Your interior designer and aquarium consultant need to coordinate on exact dimensions, viewing angles, and access points. A 180 cm display tank with a sump weighs over 500 kg when filled, so structural engineers must account for this concentrated load in their calculations.
Structural Considerations for Singapore Homes
Landed properties in Singapore generally have reinforced concrete floors that handle heavy tanks well, but the exact load-bearing capacity varies by construction method and span. For tanks exceeding 300 litres, ask your structural engineer to verify that the chosen location can support a point load of at least 500 kg per square metre. Upper-storey placements may require additional steel reinforcement in the floor slab.
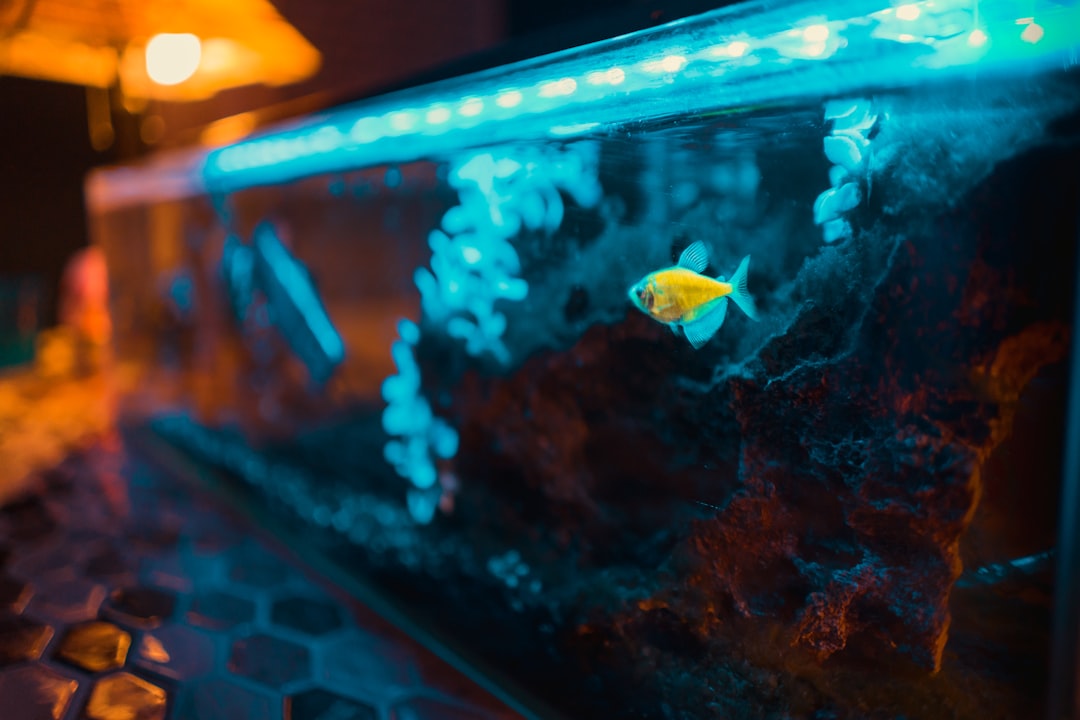
Wall-embedded aquariums visible from two rooms are a popular design choice. These require a structural opening with a reinforced lintel and sufficient depth, typically 60-75 cm, to accommodate the tank and behind-the-scenes equipment. Plan a dedicated service corridor or closet behind the tank for filter access, water changes, and feeding.
Plumbing Provisions
Running a dedicated cold water supply line to the aquarium area simplifies water changes enormously. A tap point with a garden hose thread within 2 metres of the tank allows you to connect a Python-style water changer or a direct top-off system. Equally important is a floor drain nearby. Spills and routine maintenance produce significant water, and being able to drain directly to the floor trap rather than carrying buckets across the house protects your flooring and saves time.
For larger installations with sumps, a hardline drain from the sump overflow to the nearest soil stack prevents catastrophic floods. Singapore’s PUB regulations require that any plumbing work complies with the Public Utilities (Water Supply) Regulations, so engage a licensed plumber for connections to the mains supply.
Electrical Planning
A medium-sized planted aquarium draws 200-400 watts between lighting, filtration, a CO2 solenoid, and a heater or chiller. Dedicate a minimum of four power points on a single circuit behind the tank, ideally protected by a residual current device (RCD) rated at 30 mA. Position outlets at least 30 cm above the tank’s water line to prevent water contact.
Consider a dedicated 15-amp circuit for larger installations, especially if you plan to run a chiller. Aquarium chillers common in Singapore draw 100-300 watts on their own and produce heat, so ensure the service area behind the tank has adequate ventilation or a small exhaust fan ducted to the exterior.
Cabinetry and Access Design
Built-in cabinetry hides equipment and creates a polished look, but accessibility must not be sacrificed for aesthetics. The cabinet below the tank needs enough height for a sump, usually at least 45 cm of clear interior space. Doors or removable panels should open wide enough to slide the sump out for cleaning. A removable top panel or a piano-hinged lid makes feeding and plant maintenance practical without disassembling cabinetry.
Lighting Integration With Interior Design
Recessed LED tracks above the tank can be integrated into a ceiling bulkhead for a clean, built-in appearance. Coordinate the colour temperature of the aquarium lights with the room’s ambient lighting to avoid clashing tones. A warm 6500 K planted-tank light pairs well with the 3000-4000 K downlights common in Singapore residential interiors. Install dimmable drivers so you can match aquarium brightness to the room’s mood.
Common Mistakes to Avoid
Placing the tank directly opposite a window invites uncontrollable algae growth from direct sunlight. Avoid locations near air-conditioning vents, which cause temperature fluctuations and excessive evaporation. Failing to waterproof the wall and floor behind an embedded tank leads to moisture damage over time. Apply a waterproof membrane to all surfaces within the service area, just as you would for a bathroom.
Planning an aquarium into a new build adds 5-15% to the cost of that room’s fit-out, but the result is a seamless, professional installation that looks intentional rather than added as an afterthought. With early coordination between your architect, contractor, and aquarium specialist, a planned aquarium in a new home build becomes a centrepiece that enhances your property for years to come.


