


How to Use Mesh Walls in Aquascaping for Vertical Planting
Vertical planting opens up an entirely new dimension in aquascaping, turning the back panel or sides of your tank into a lush living wall. Mesh walls are the tool that makes this possible, providing a framework for mosses, ferns and epiphytic plants to attach and grow vertically. This mesh walls aquascaping guide covers the materials, installation methods and plant choices you need to create stunning green walls underwater. At Gensou Aquascaping at 5 Everton Park, we use mesh wall techniques in many of our custom builds.
What Are Mesh Walls in Aquascaping?
A mesh wall is a rigid or semi-rigid grid panel, typically made of stainless steel or food-grade plastic, that is attached to the inside of the aquarium, usually against the back glass. Mosses and other plants are threaded, tied or wedged into the mesh openings. Over time, the plants grow through and cover the mesh entirely, creating a dense green wall that serves as both a backdrop and a biological filter. The mesh provides structure that plants cannot achieve on flat glass alone, and it keeps the plant material in place as it establishes.
Choosing the Right Mesh Material
Stainless steel mesh, specifically 304 or 316 grade, is the most durable option. It resists corrosion in freshwater, maintains its shape indefinitely, and is available in various grid sizes. A mesh with openings of approximately five to ten millimetres works well for most mosses. Plastic craft mesh, often called canvas mesh or cross-stitch mesh, is a cheaper and more accessible alternative. It is widely available at craft shops and online in Singapore for just a few dollars per sheet. Plastic mesh is easy to cut with scissors, lightweight and safe for aquarium use, though it may bow over time under the weight of heavy plant growth.
Preparing and Installing the Mesh Wall
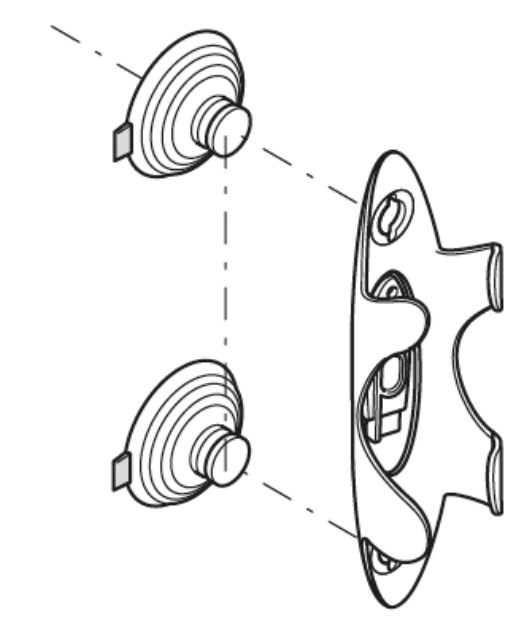
Cut the mesh to match the dimensions of the area you want to cover, typically the back panel of the tank. Leave a small margin on all sides so the mesh does not press against the silicone seams. Attach the mesh using suction cups with clips, aquarium-safe silicone adhesive, or stainless steel hooks that rest on the tank rim. For a cleaner look, some hobbyists create a frame from rigid plastic strips or stainless steel rods to hold the mesh taut. If you want to create depth, mount the mesh a centimetre or two away from the back glass, allowing water to circulate behind it and preventing dead zones.
Best Plants for Mesh Walls
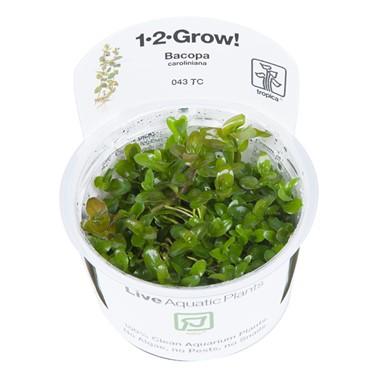
Mosses are the classic choice for mesh walls. Java moss, Christmas moss, weeping moss and flame moss all attach well to mesh and create different textures. Java moss forms a dense, bushy mat. Weeping moss drapes downward elegantly. Flame moss grows upward in pointed clusters. For variety, intersperse moss sections with small Anubias petite, Bucephalandra or Microsorum (Java fern) varieties, which can be wedged into the mesh or tied with fishing line. Riccia fluitans can be pressed into the mesh and held with a second layer of mesh on top, creating a striking pearl-like effect when it produces oxygen bubbles under good lighting.
Attaching Plants to the Mesh
There are several attachment methods. The sandwich technique uses two sheets of mesh with a thin layer of moss spread between them, secured together with cable ties or fishing line. This is the fastest method for achieving uniform coverage. Alternatively, you can tie small moss portions to the mesh individually using cotton thread, which decomposes naturally over a few weeks by which time the moss has attached on its own. Superglue gel works for Anubias and Bucephalandra rhizomes, which can be glued directly to the mesh strands. For the best results, combine methods: sandwich the bulk of the mosses and glue accent plants into specific positions.
Lighting and CO2 Considerations
A mesh wall at the back of the tank is the farthest point from the light fixture, so it receives the least light. Mosses and Anubias are tolerant of lower light, which makes them well-suited to this application. However, if you want vibrant, fast growth, ensure your lighting is adequate and consider supplementing with CO2. In tanks deeper than 40 cm, the back panel may fall below the effective range of weaker LED fixtures. Aim for at least 30 to 40 PAR at the mesh surface. If lighting is insufficient, algae such as black beard algae may colonise the mesh before the desired plants can establish dominance.
Maintenance and Long-Term Care
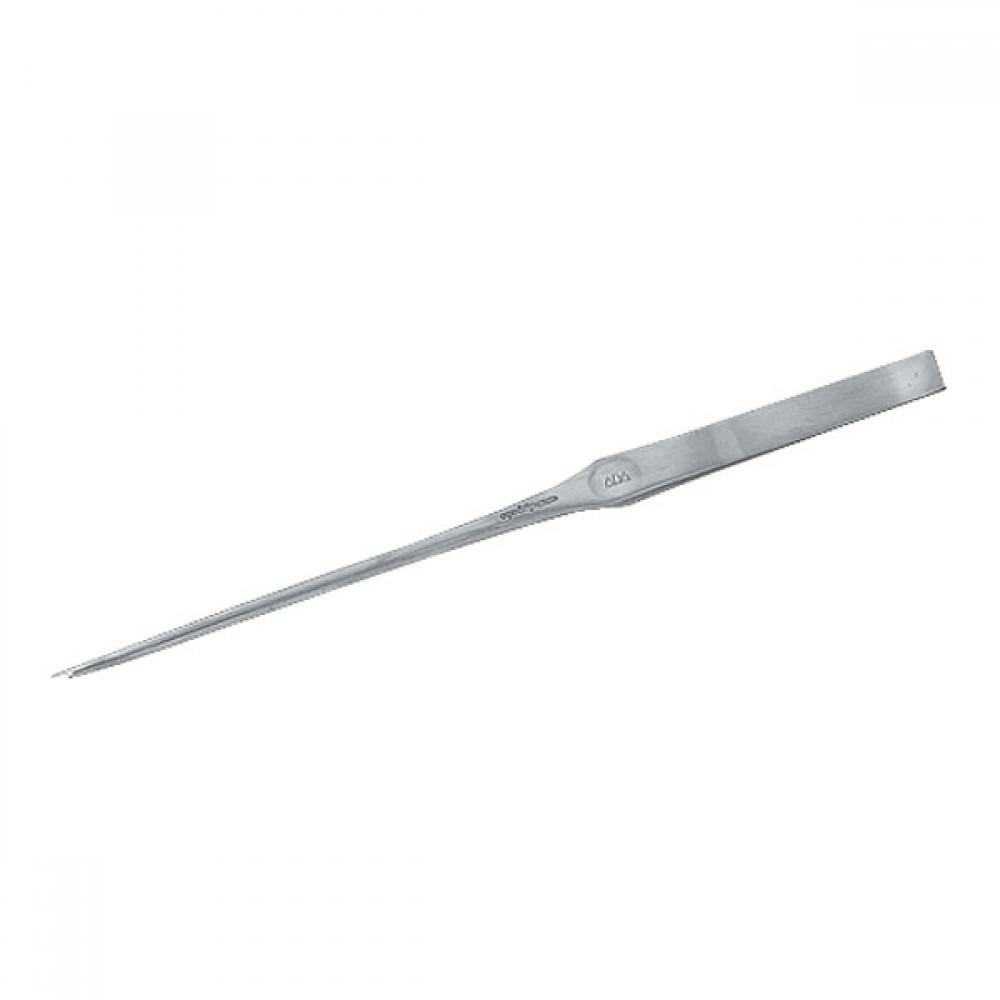
Once established, a mesh wall requires regular trimming to maintain its shape and prevent it from becoming an overgrown, tangled mass. Trim mosses every three to four weeks, removing excess growth to encourage fresh, healthy shoots. Use sharp aquascaping scissors and cut rather than pull, as yanking on moss can detach entire sections from the mesh. Periodically check behind the mesh for trapped detritus and debris. A gentle blast from a turkey baster or small powerhead during water changes dislodges accumulated waste. If any section of the wall becomes patchy, tie or glue fresh plant material into the bare spots.
Creative Applications Beyond the Back Wall
Mesh walls need not be limited to the back panel. Side walls, internal dividers, curved features and even mesh-covered cylinders can be created. Some aquascapers wrap mesh around cylindrical objects to create moss-covered pillars or tree trunk shapes. Others use mesh to create raised islands or floating platforms within the tank. The versatility of mesh as a planting substrate opens up creative possibilities that hardscape alone cannot achieve. Visit Gensou Aquascaping at 5 Everton Park to see mesh wall installations in person and pick up materials and plants to start your own living wall project.
Related Reading
emilynakatani
Still Have Questions About Your Tank?
Drop by Gensou Aquascaping — most walk-in questions get answered in under 10 minutes by someone who has set up hundreds of tanks.
5 Everton Park #01-34B, Singapore 080005 · Open daily 11am – 8pm


