
How to Photograph Your Aquarium Fish: Sharp and Colourful Shots
A solid photograph aquarium fish guide can transform your blurry snapshots into images worthy of framing or sharing online. Aquarium photography is challenging because fish move unpredictably, glass creates reflections and tank lighting rarely matches what a camera expects. At Gensou Aquascaping, based at 5 Everton Park in Singapore, we photograph our display tanks regularly and have refined a process that works with everything from smartphones to DSLRs.
Clean the Glass First
No amount of editing can fix a photo shot through dirty glass. Before picking up your camera, clean the inside of the front panel with a magnetic algae scraper or a clean microfibre cloth. Wipe the outside with a glass cleaner and a lint-free cloth to remove fingerprints, water spots and dust. Even a thin film of algae or limescale will reduce sharpness and colour accuracy. This single preparation step makes more difference than any camera upgrade.
Camera Settings for Sharp Fish
The biggest enemy is motion blur. Fish dart, fins flutter and water shimmers, so you need a fast shutter speed. Aim for at least 1/250 of a second; 1/500 is better for fast swimmers like danios and tetras. To achieve this in the relatively dim conditions of a tank, open your aperture wide (f/2.8–f/4) and increase your ISO to 800–1600. Modern cameras handle noise well at these levels. If you are using a smartphone, tap and hold on the fish to lock focus, then use burst mode to capture a rapid sequence of images and select the sharpest one afterwards.
Lighting for True Colours
Your aquarium light is your main light source. Turn off all room lights and close curtains to eliminate reflections on the glass. If your tank light has adjustable colour temperature, set it to around 6500 K for the most natural colour rendition. Avoid using your camera’s built-in flash—it will create a harsh, washed-out glare on the glass. If you need additional light, place a desk lamp above the tank angled downward so it supplements the existing fixture without bouncing off the front panel. LED lights with high CRI (colour rendering index) produce the most accurate colours.
Eliminating Reflections
Reflections are the most common frustration in aquarium photography. Darken the room as much as possible—this alone removes most reflections. Wear a dark shirt, as bright clothing reflects visibly in the glass. Position your camera lens flush against the front panel or use a rubber lens hood pressed gently against the glass. For smartphone users, cupping your free hand around the phone and pressing it lightly to the glass creates a makeshift hood. A circular polarising filter on a DSLR or mirrorless lens also reduces glare, though it costs $30–$80 SGD depending on the diameter.
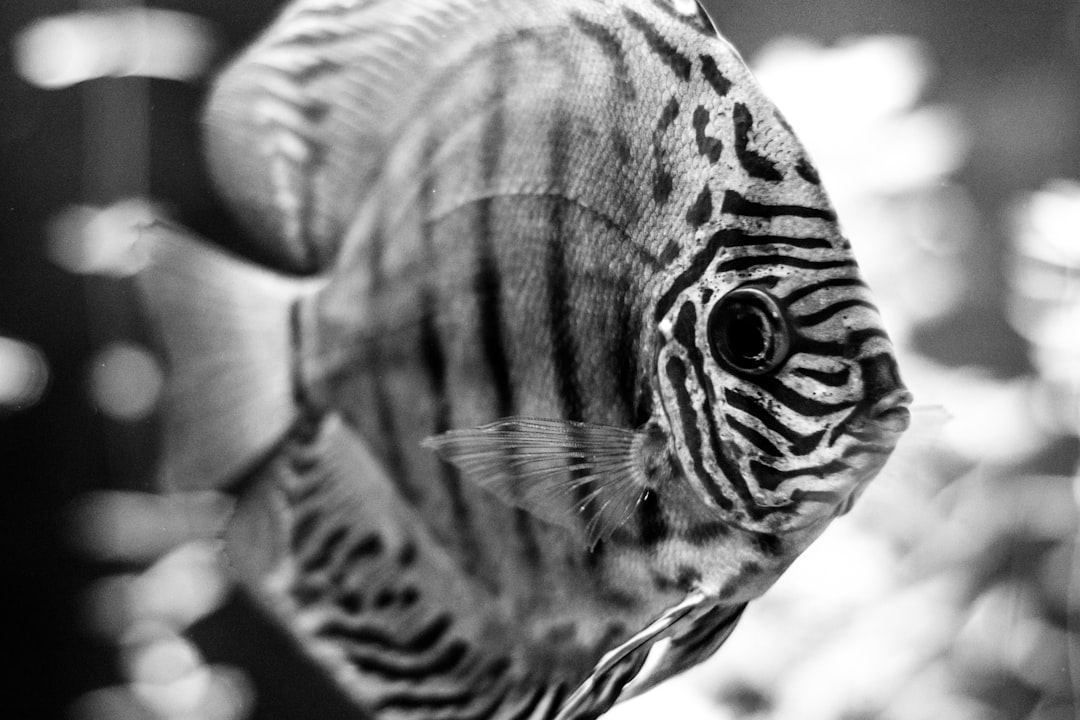
Composition and Focus Tips
Apply the rule of thirds—position the fish’s eye at one of the intersection points rather than dead centre. Shoot at the fish’s eye level, not from above, to create a more engaging perspective. Use single-point autofocus locked on the fish’s eye for the sharpest results. If your camera supports animal eye tracking, enable it. Wait for the fish to pause—most species have predictable resting spots where they hover momentarily. Patience is the most important compositional tool. Spend ten to fifteen minutes watching your fish’s movement patterns before you start shooting, and you will know exactly where to aim.
Smartphone Photography Tips
Modern smartphones produce excellent aquarium photos with a few adjustments. Switch to manual or pro mode if available and set the ISO to 400–800 with the fastest shutter speed the lighting allows. Turn off HDR mode, as the multiple exposures it requires will blur moving fish. Use the 1x lens rather than the ultrawide, which distorts at close range. Tap the screen to focus on the fish, then slide the exposure slider down slightly to deepen colours and reduce blown-out highlights on reflective scales. Editing apps like Snapseed or Lightroom Mobile are free and can fine-tune white balance and sharpness after the shot.
Photographing Specific Subjects
Different fish require different approaches. For bettas, wait until they flare or spread their fins—a mirror placed briefly outside the tank can trigger this display. For schooling fish like cardinal tetras, shoot the group as a whole rather than isolating one individual. For bottom dwellers like corydoras, lower the camera to substrate level. Shrimp are best photographed from the side when they are perched on a leaf or moss, where their translucent bodies catch the light beautifully. Aquascapes themselves are best shot with a slightly higher f-stop (f/8–f/11) to keep the entire layout in focus.
Editing and Sharing Your Images
Post-processing is where good photos become great. Adjust white balance to correct any colour cast from your tank light—blue-heavy LEDs often need warming. Increase clarity or structure slightly to enhance fine details like scale patterns and plant textures. Crop to remove equipment, water lines or empty space at the edges. Resist the temptation to oversaturate colours; aim for natural vibrancy. Export at full resolution for printing or at 2000 pixels on the long edge for social media. Tag your images with your location—Singapore’s aquascaping community is active online and fellow hobbyists appreciate discovering local talent. For inspiration and hands-on photography advice, visit Gensou Aquascaping at 5 Everton Park.


